Archive | propagation

Making the Cut….in House and Garden


It was this time last year whilst pruning the roses that I got a call from Clare Foster, garden editor for House and Garden. She asked if I was interested in working with her on a 6 month series about growing flowers for cutting – each issue would be filled with information about what to grow for a continual supply of flowers for the house from April through to September, which are the best varieties for cutting, when and how to complete tasks and ideas for how to arrange what you have produced .

The garden photographer Eva Nemeth had been commissioned to work on the images and over the next few months she paid regular visits to the farm to capture the rapid succession of horticultural tasks, flowers, floral designs and created some gorgeous flat lays to illustrate my favourite seasonal pickings. Eva took so many beautiful images that I thought it was a shame not to show more of them in a blog to run alongside each monthly installment. It also seemed like a good opportunity to talk a bit more about what we get up to throughout the season.

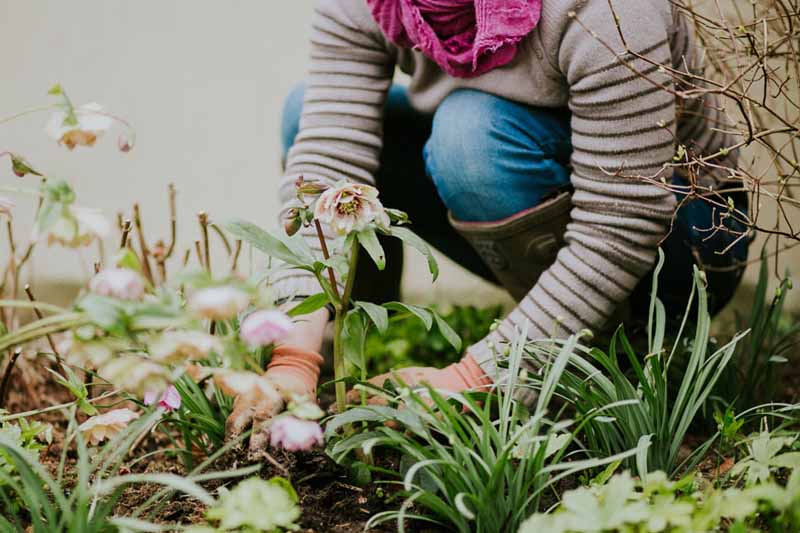
April is often considered the start of the cut flower growing season but I find March a more realistic month to get started. There is plenty of cutting back and pruning to do if you are growing perennials, shrubs and roses for cutting. These will all need a good mulch afterwards with well rotted manure or compost. It is important to get this job done earlier before buds start to break into leaf and new growth starts to sprout from the ground.

I tend to do most of my perennial and shrub planting in March. There is plenty of moisture around for the roots to get established before the warmer months.

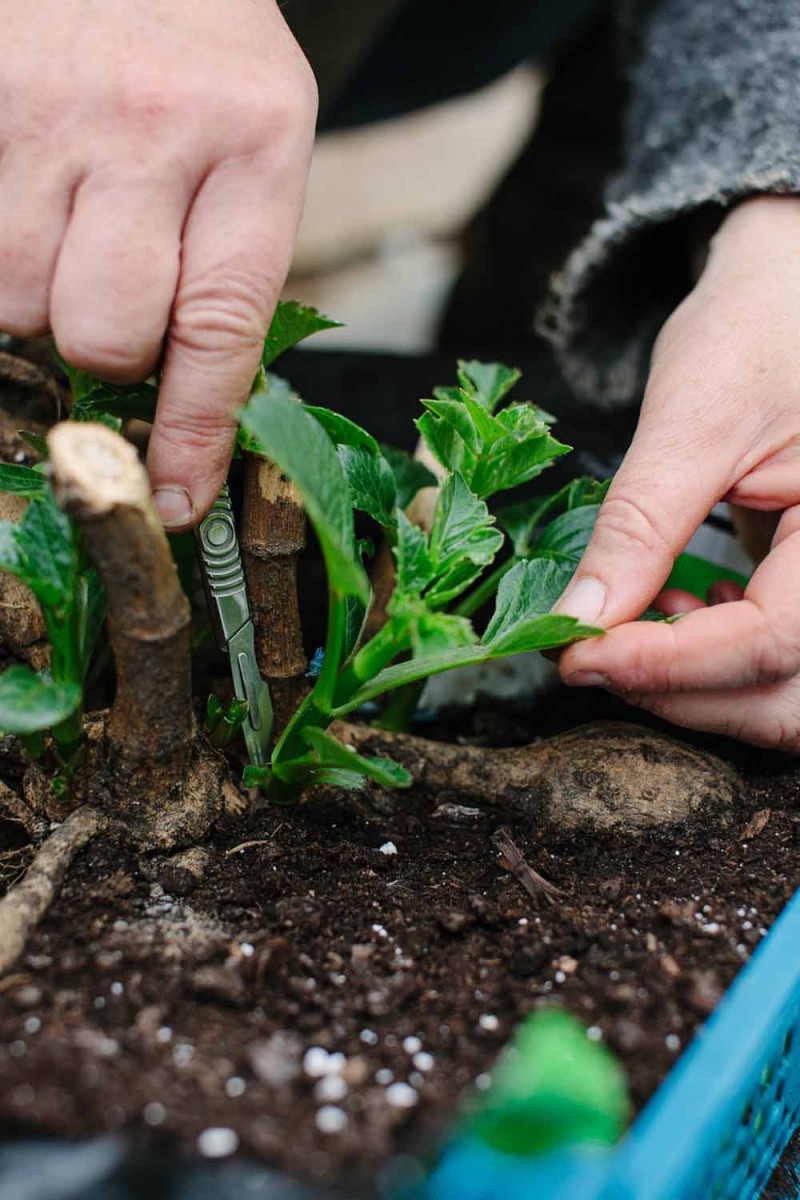
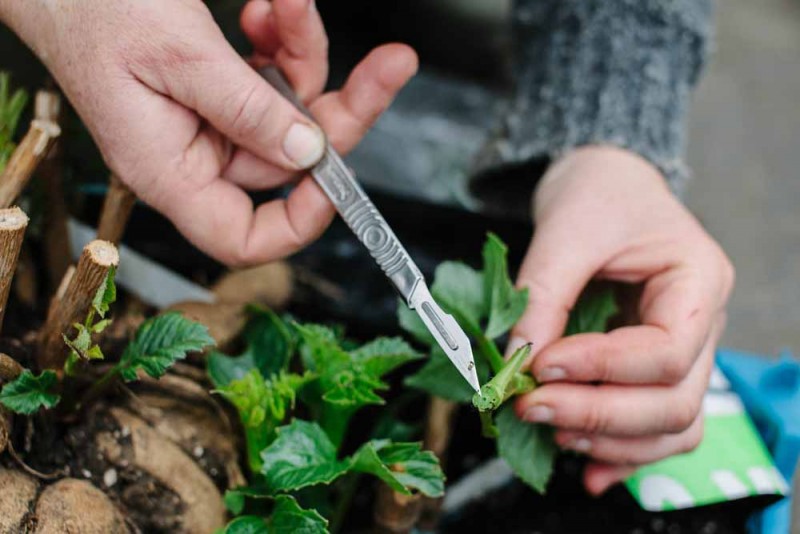
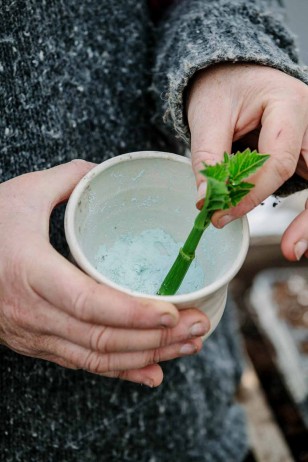
I always earmark my older more congested perennials for lifting and dividing at this time, this year the focus is on my large collection of phlox, I am saving this job for the attendees on the Propagation Masterclass who will be taking some healthy clumps home with them.

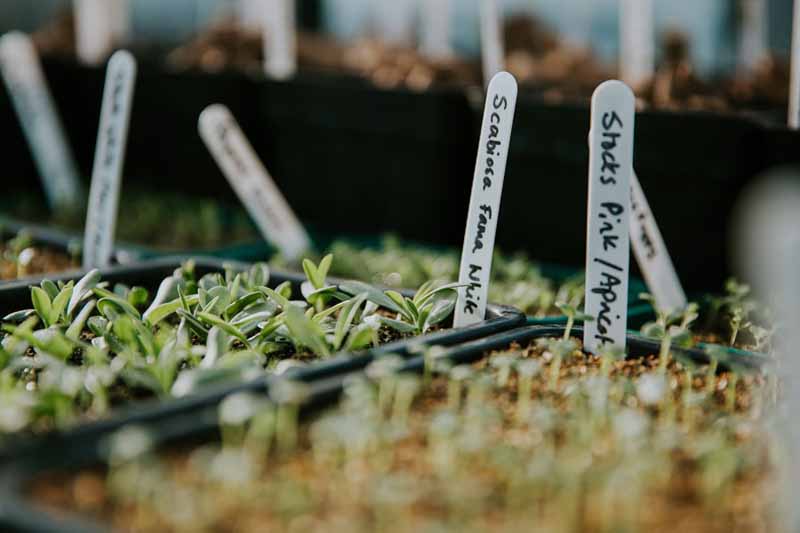
March is also when things start to get busy in the greenhouse. If you are lucky enough to have one it is a good time to sow a whole host of annuals (both hardy and half hardy) plus perennials which you would like to see flowering in their first year. I grow many of my favourite perennials from seed including scabious, Eryngium, delphiniums and Achillea, it saves a lot of money and is many germinate varieties germinate very easily. Sowing will continue into April with some of the hardy annuals that dislike root disturbance being sown directly outside.

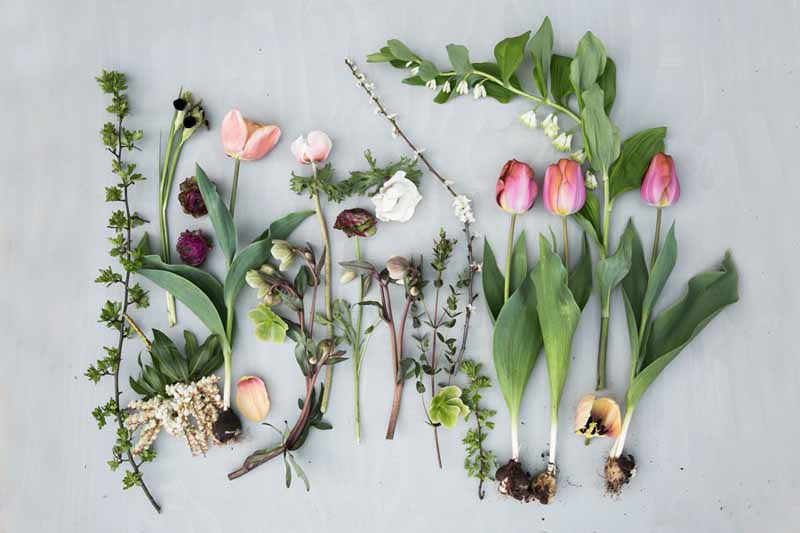
Just as things start to get busy with growing tasks it is time to start picking all the flowering bulbs that were planted between September and November.

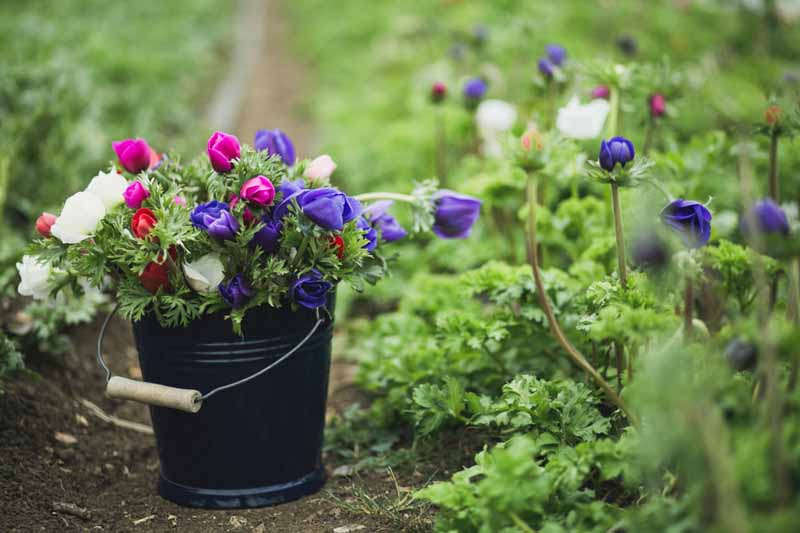
The Anemones are in flower first and once they start they come thick and fast, producing stem after stem from each corm. To find out more about how to grow them have a look at my post here.

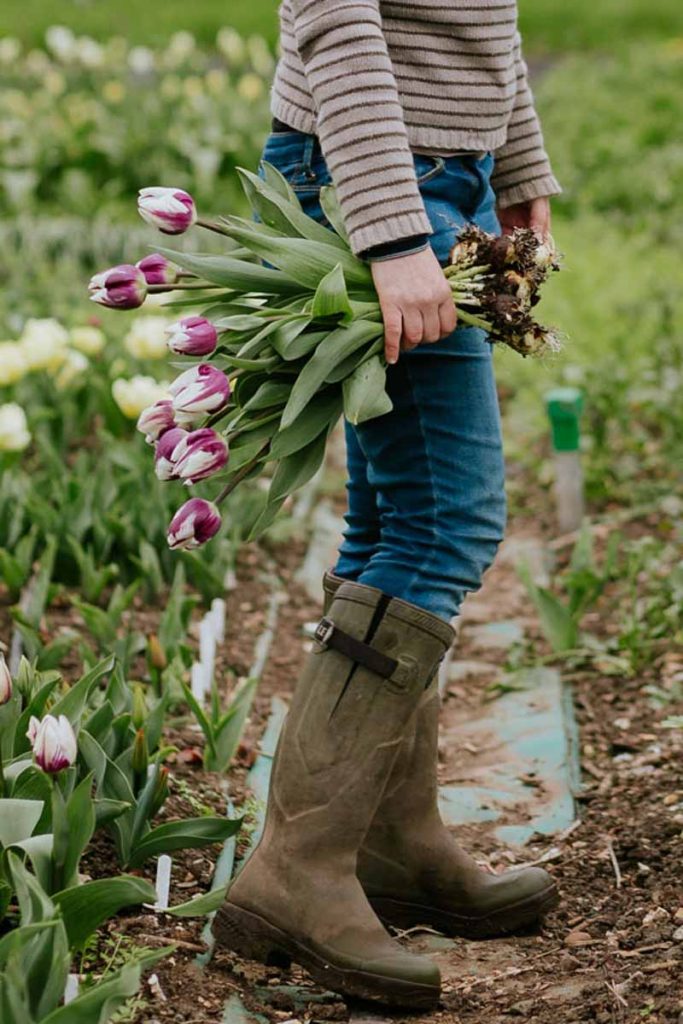
The tulips follow close behind, I pull them  and lift bulbs and all, clearing the bed as I go for the next crop – more about growing tulips in my cultivated palette series here.

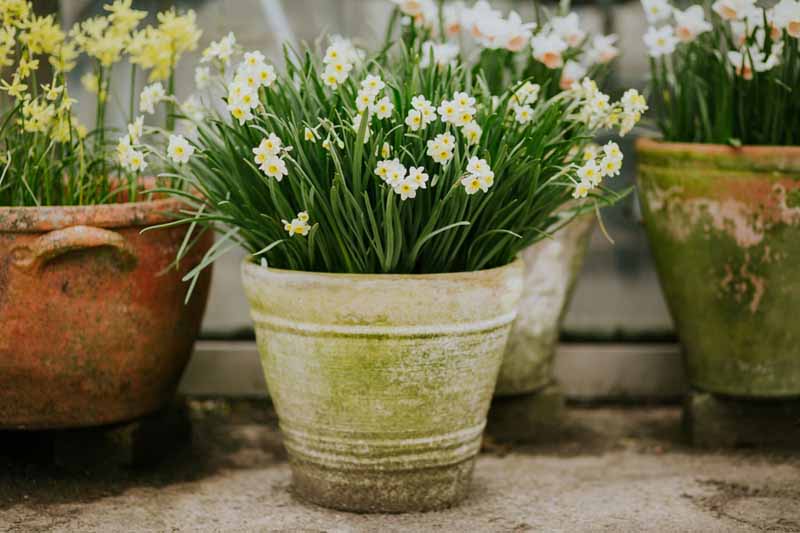
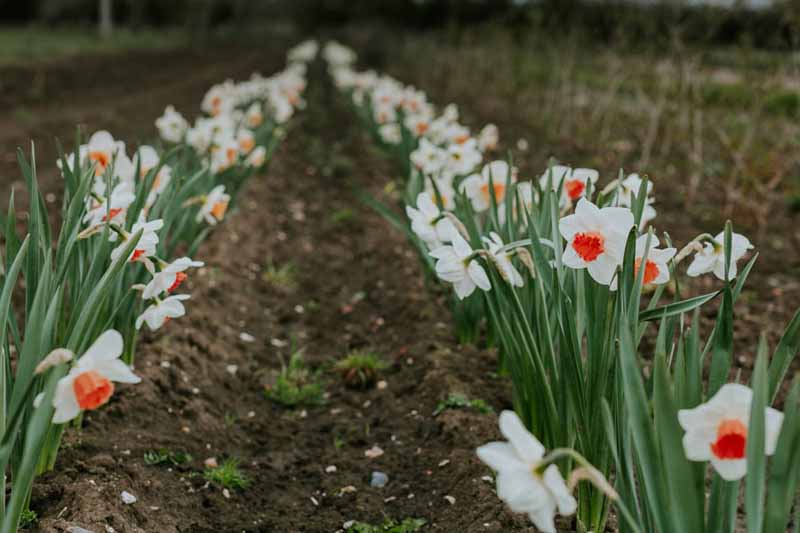
Narcissus are flowering in our field and in my pots, I love showing off the more delicate varieties this way and I find they last longer in a pot than tulips.

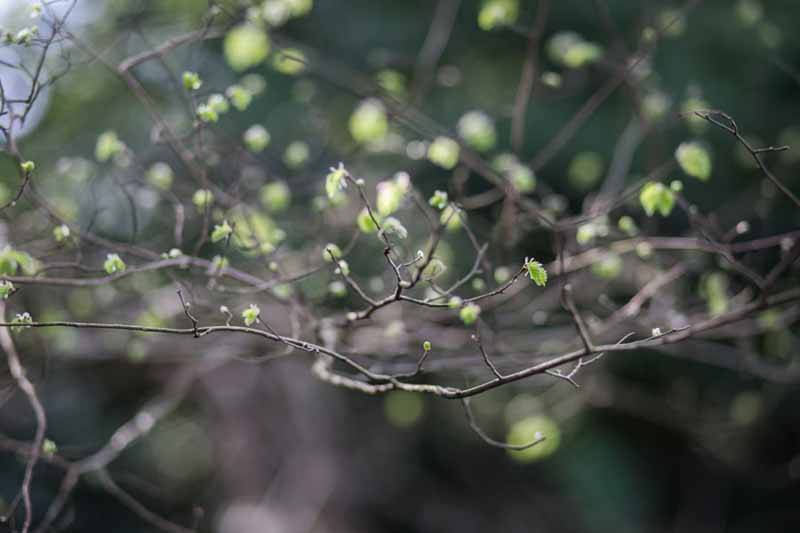
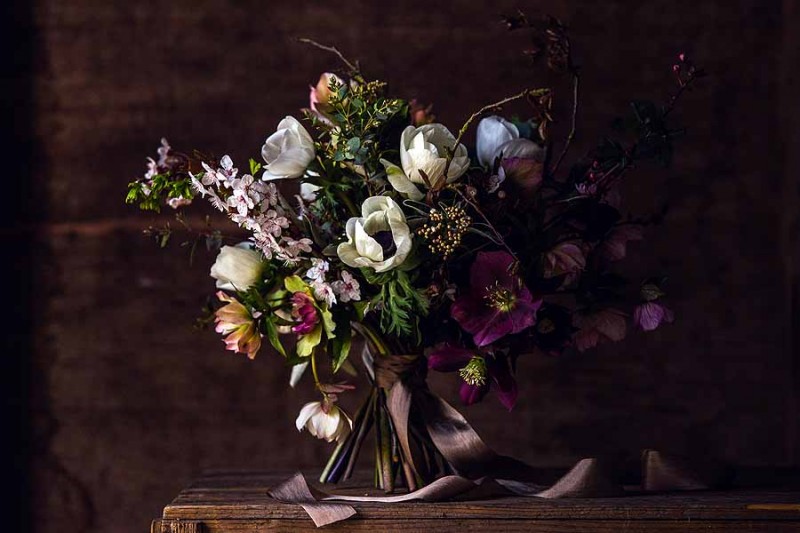
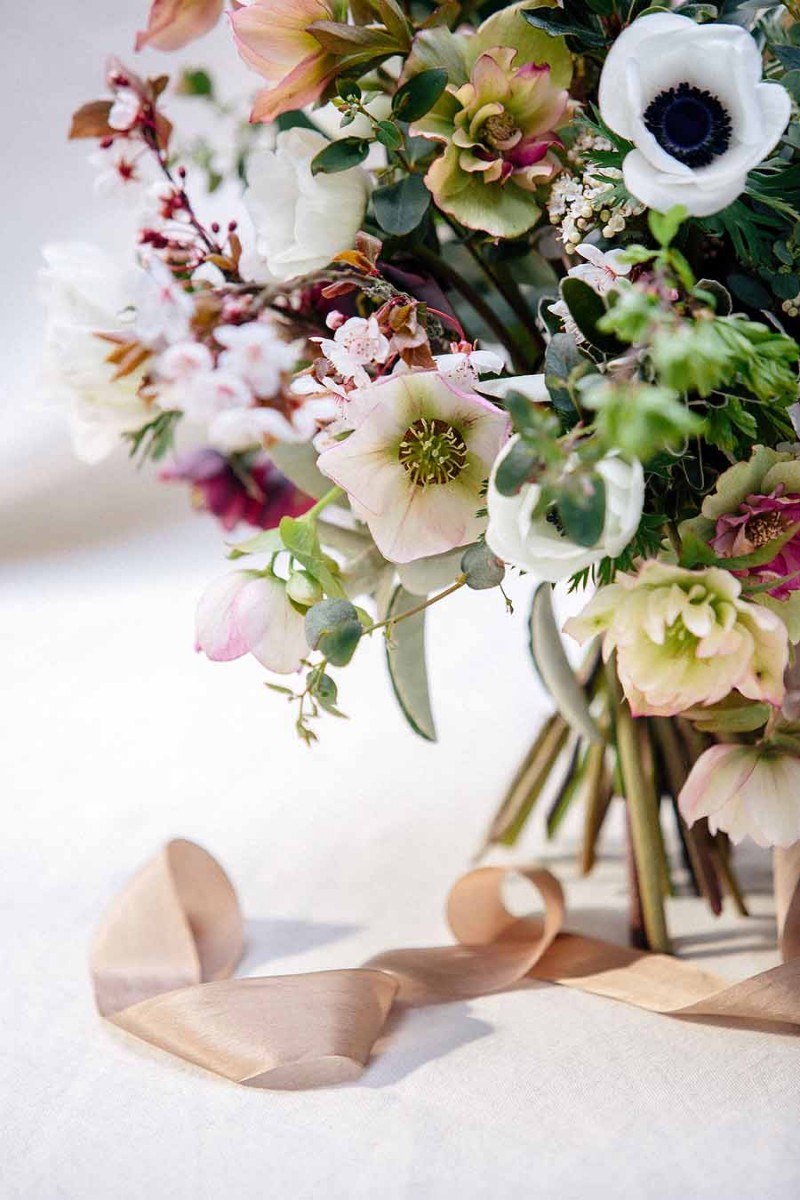
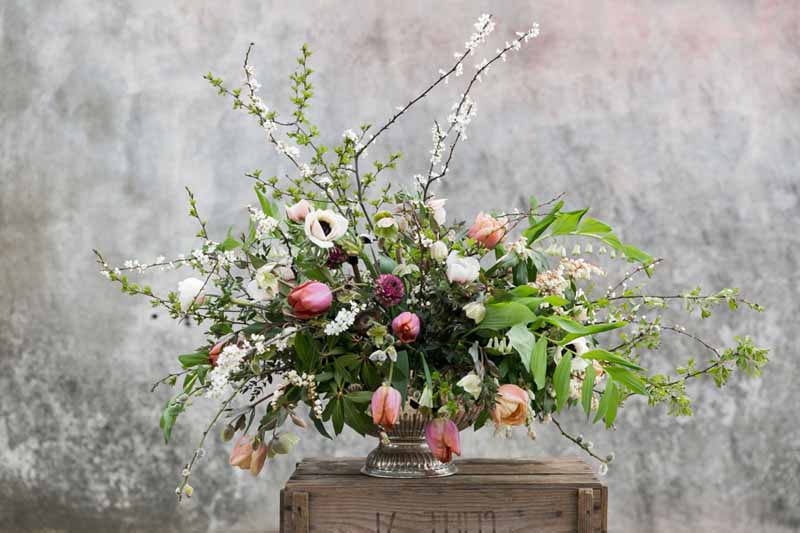
To accompany all these spring beauties April is an ideal time to go foraging, I cut from our surrounding native hedge and orchard, carefully selecting the branches that will create the shape I want in my arrangements. The emerging leaves of hazel and hawthorn accompanied by blossoming branches are my favourites.

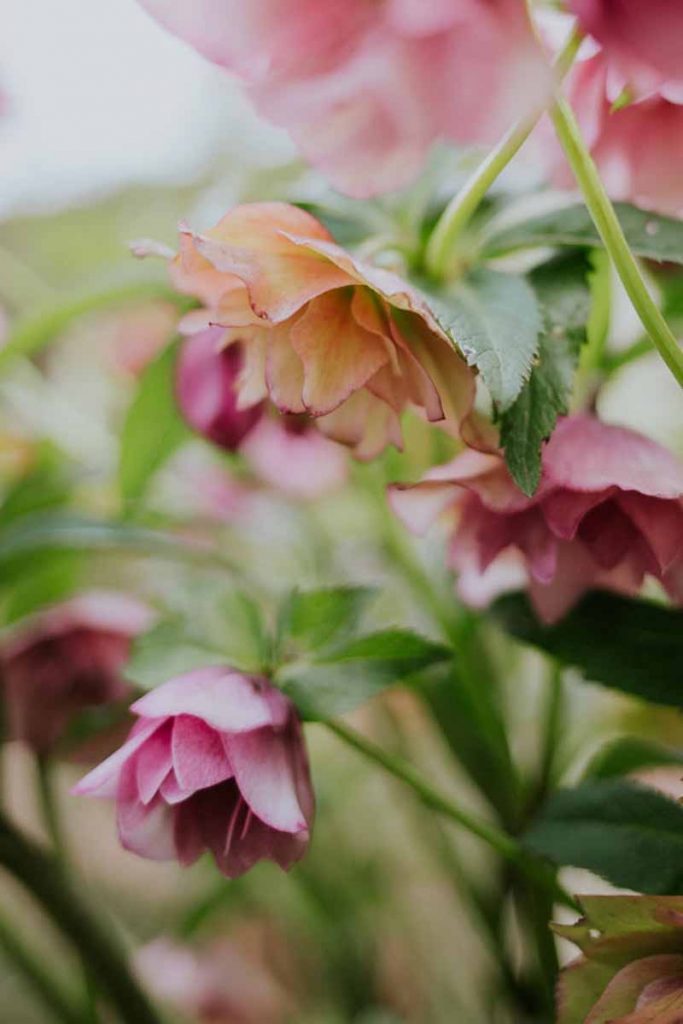
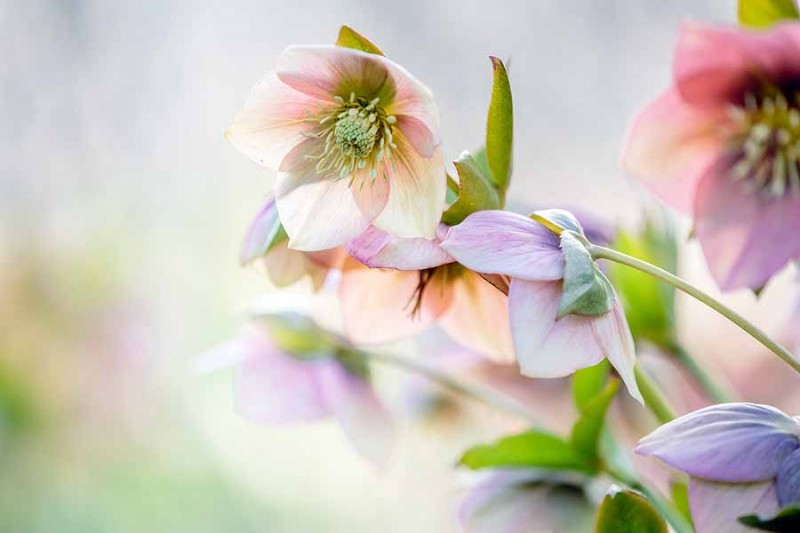
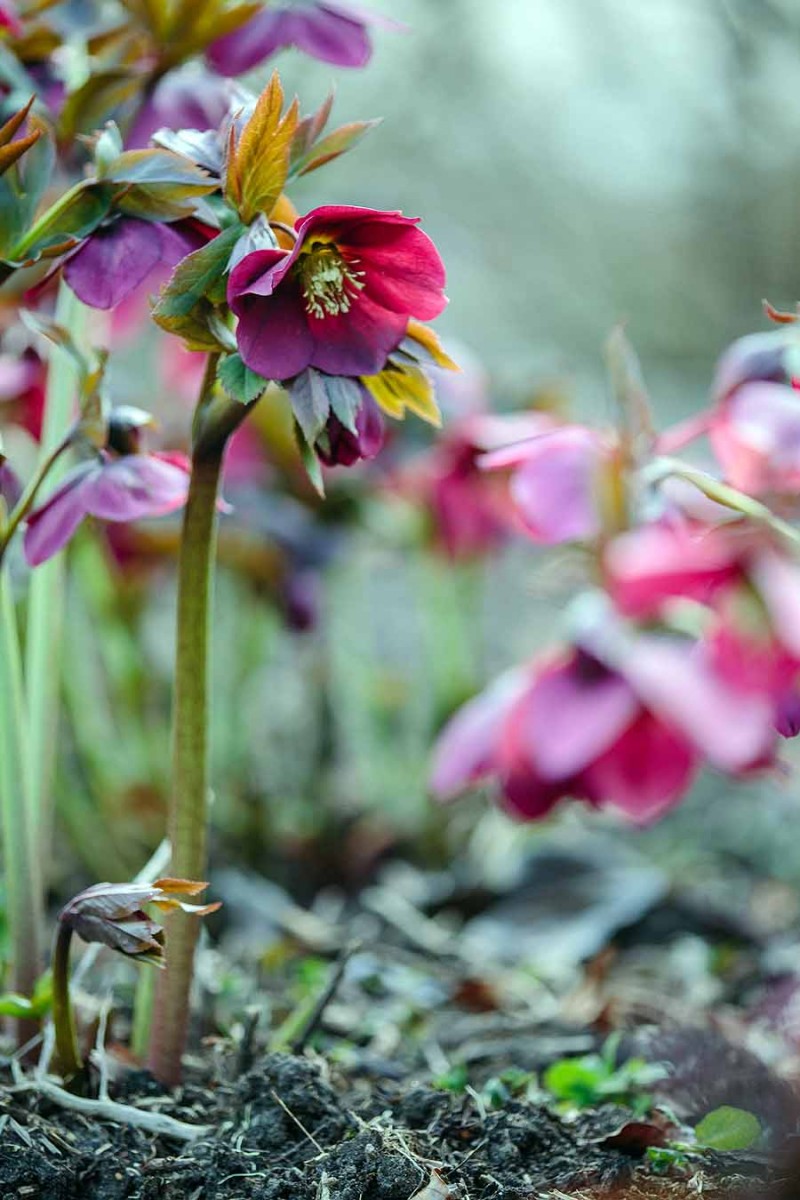
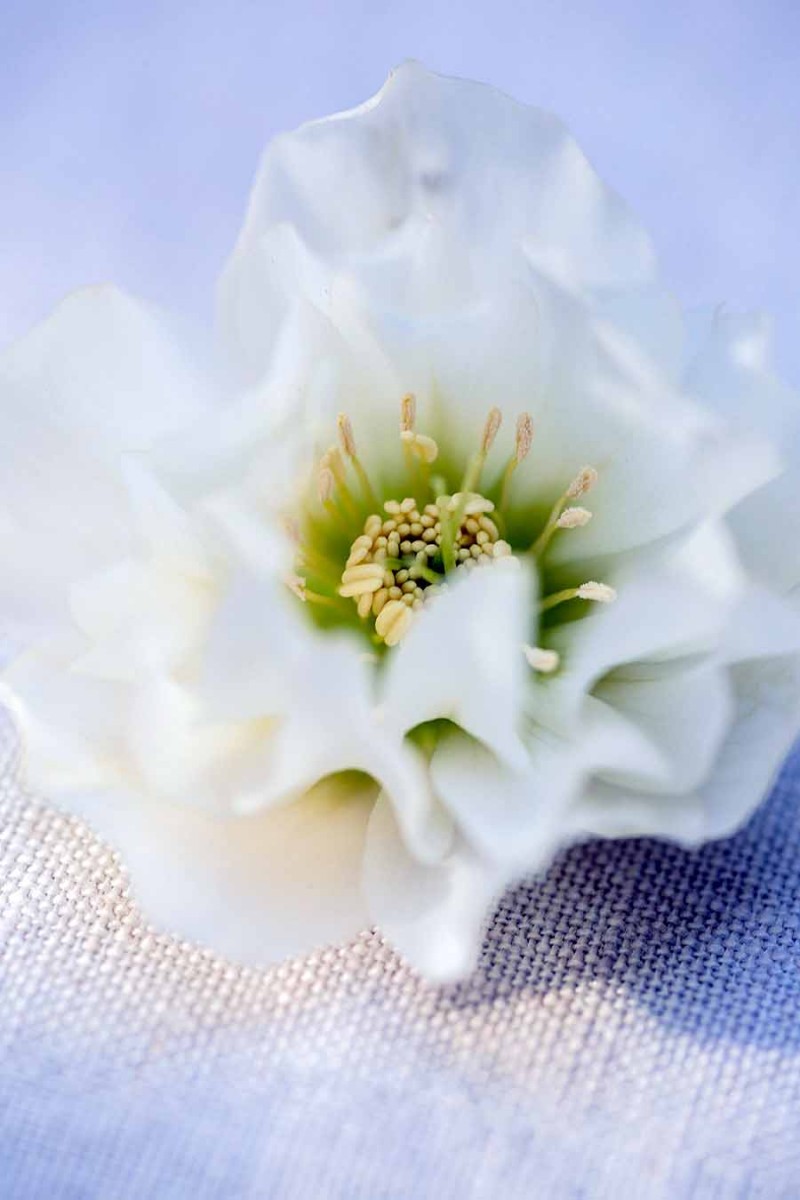
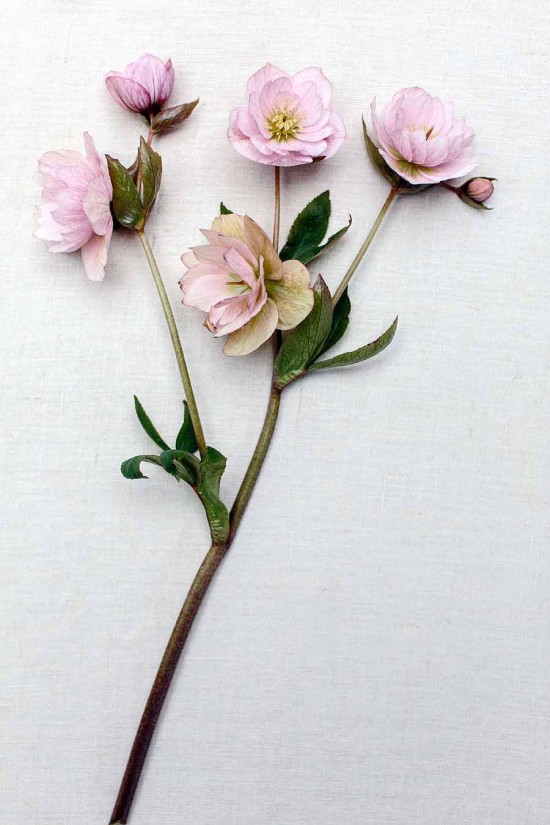
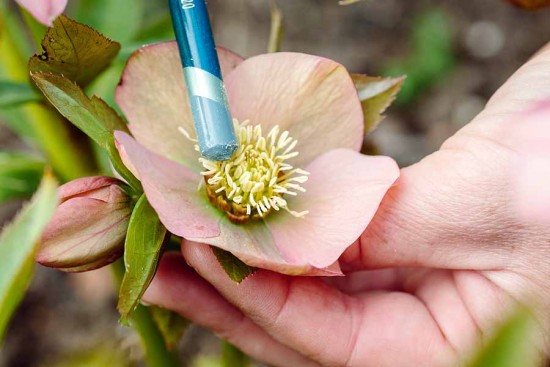
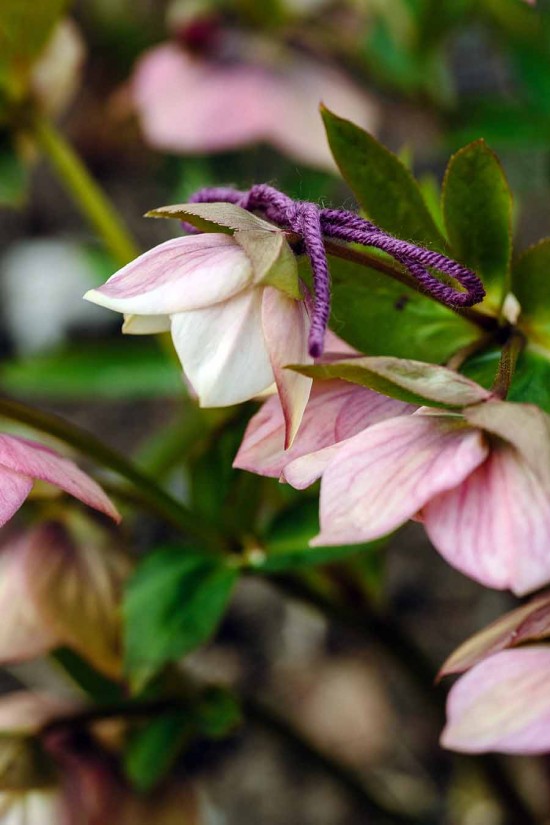
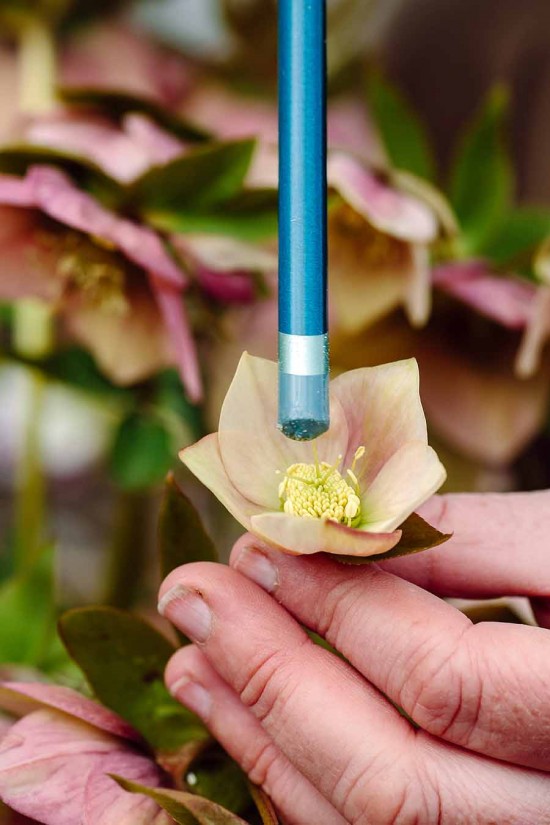
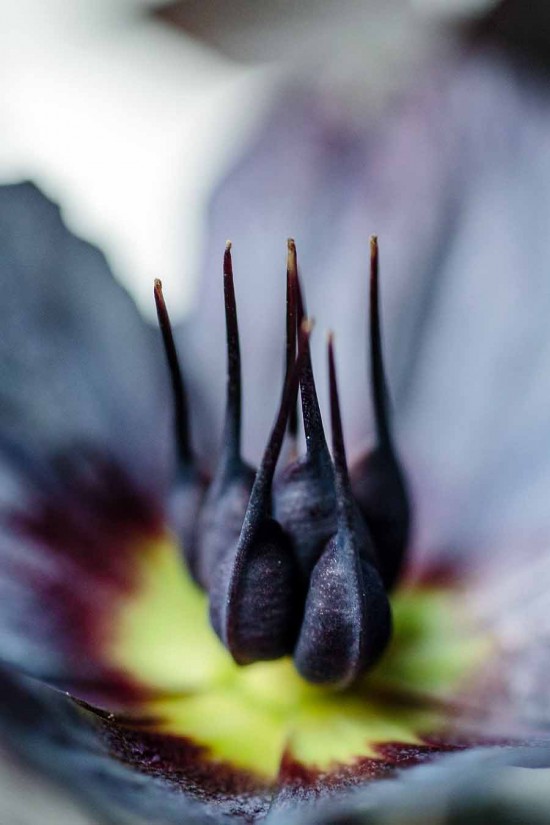
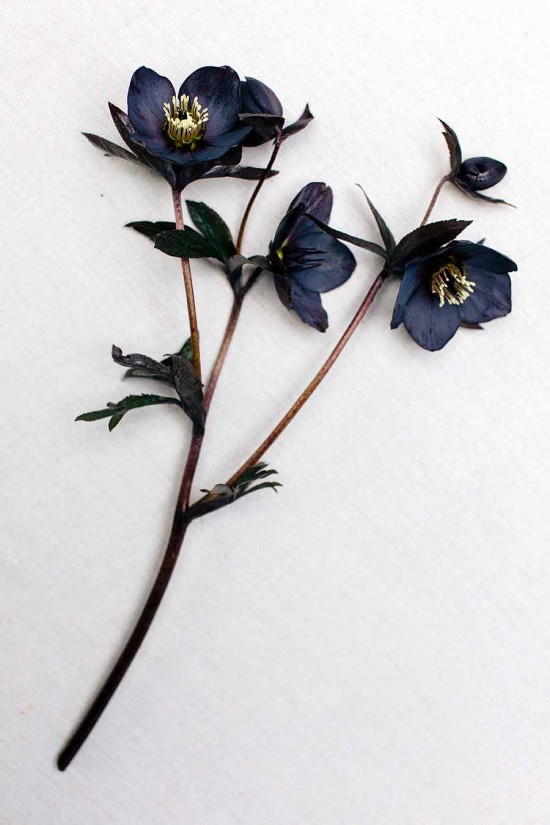
No April arrangement would be complete without a hellebore or two, by now they are setting seed and this ripening gives them a much longer vase life.

The Cultivated Palette Series – Hellebores

CW__7334

I have been cutting back the old leaves on my Hellebores this week followed by a quick weed and mulch. My favorite tool of all time the Japanese Razor Hoe does a great job at getting all those pesky weeds out that like to colonize around the crown of the plant.

CW__7286

I don’t think they have enjoyed this mild winter, there is a lot of black spot around so I think a good mulch will help keep the spores from being splashed up on to the emerging flowers.

CW__7172

Hopefully in a months time they will be looking something like these which were photographed in March last year by photographer Clare West. We got together a few times last year and focused on just one flower on each occasion, so I thought it would be fun to share these beautiful images with you over the coming months in a series of blog posts called The Cultivated Palette. I will include lots of growing tips and recommendations for sourcing stock plants and seeds and I will share some thoughts on why I choose to include them in my ‘palette’ of plants for cutting.

CW__7221

I am going to have another go at hand pollination next month. I will have to select a mother and father plant from each variety, based on stem length, good flower shape and general vigor. This Harvington double pink is a good example, the plant has formed a big clump relatively quickly with long stems and well you can see heart-breakingly beautiful flowers.

CW__7075

So on a sunny day I will set aside ten minutes and go to my Hellebore bed armed with a pencil and some odds and ends of yarn. Firstly I rub the end of the pencil over the anthers of a fully open flower on the father plant, then I will select an almost open flower bud from the mother plant and tie a little bow of yarn around its neck.

CW__7052

It is important that no others pollinators have been there first. I then transfer the pollen from the pencil to the stigma.

CW__7061

CW__7056

That is all you have to do until the seed ripens around the end of May, the shiny black seeds should be collected and sown on a loam based, gritty compost whilst nice and fresh. They do take a few months to germinate, so keep the seed tray in a cold frame and hopefully by September you will start to see some signs of life.

CW__7092

All my hellebores were bred by Hugh Harvington whose nursery Twelve Nunns, now run by his daughter Penny Dawson in Lincolnshire, has recently been featured in the January edition of RHS magazine The Garden. They do supply wholesale plug plants, as long as you order ten or more of a variety, they can be potted up and grown on for a season before planting out. Harvington hellebores have a purity of colour which I find very useful for my wedding work. This one below is Harvington single smokey.

CW__7082

Hellebores are an investment but I cannot resist them, I think they add a subtlety to the more flamboyant and bold spring bulbs and have a good long harvesting period from February to April. Once you grow your own from seed you realize why they are expensive, it takes two years from pollination to the first flower.

CW__7140

I have found the double forms hold better so I have just placed an order for some more including blush, apricot and double speckled cream…yum! I am establishing a new bed under a line of mature beech trees which should give them a bit of shade in the summer months.

Vase life can be rather fleeting especially before they start to set seeds. I don’t think searing the stems does make much difference, but scoring a line down either side of the stem and then plunging the stems in a deep bucket of water up to their necks overnight seems more successful. I have to confess most of mine are picked in April when my season is in full swing, they are very ripe by then and happily hold for up to two weeks.

The next instalment will be on Anemones which I have just started picking, the earliest harvest recorded here at G&G.


Dahlia Grow Along Part 3

Hello and welcome…

I have a feeling this might have been due a couple of weeks ago but the season has moved from pottering and contemplating to racing around the garden at full throttle. With a fully booked season ahead I have a lot of sowing and planting to do. Fortunately my team is back with some new additions too so we are certainly getting things done at present. After a few months off, my floristry skills have been cranked into motion again with eight weddings so far and plenty more in the coming months. I have done more talking in the past few weeks than I did all winter with our courses and gardening club talks.

Anyway, back to the DAHLIAS…, I took the first basal cuttings off my tubers this week. So here is how to turn that one favourite, special dahlia into an entire row of them.

CW__2710

I took my tubers out of storage back in February and potted them up so the crown was sitting above the compost level.

They are then placed in a warm, bright position to bring them into growth early. I want cuttings as soon as possible and so I use a heat mat or a heated sand bed. A greenhouse is ideal where the bright light conditions will produce stocky little shoots. This usually takes a good three weeks.

Now arm yourself with a sharp, clean knife, a plastic bag and some rooting hormone.

Cut the shoot right at the base, as close to the tuber as possible (preferably with a sliver of the tuber), being careful not to damage surrounding shoots.

Green & Gorgeous - March - 078

Check that your cutting has a solid centre, if hollow like a straw discard it as it will never root properly, only rot.

Green & Gorgeous - March - 079


Remove any lower leaves and dip the end in the rooting powder. If there is still a lot of leaf cut the remaining ones in half.

Green & Gorgeous - March - 082

I like to take a lot of cuttings so mine go into plug trays but around the edge of a pot works just as well.

Green & Gorgeous - March - 090 (1)

Label and date your cuttings for reference later.

The cuttings must be kept out of direct light in a warm, moist environment until they have rooted which will take about 2-3 weeks. A clear plastic bag over your pot of cuttings will keep them from transpiring and expiring. Be patient and no fiddling…!

The next Dahlia Grow Along post will be about growing them on and planting them out. I am going to get a head start with some of the giant varieties in the polytunnel.