Tag Archives | green and gorgeous

Dahlia Grow Along Part 3

Hello and welcome…

I have a feeling this might have been due a couple of weeks ago but the season has moved from pottering and contemplating to racing around the garden at full throttle. With a fully booked season ahead I have a lot of sowing and planting to do. Fortunately my team is back with some new additions too so we are certainly getting things done at present. After a few months off, my floristry skills have been cranked into motion again with eight weddings so far and plenty more in the coming months. I have done more talking in the past few weeks than I did all winter with our courses and gardening club talks.

Anyway, back to the DAHLIAS…, I took the first basal cuttings off my tubers this week. So here is how to turn that one favourite, special dahlia into an entire row of them.

CW__2710

I took my tubers out of storage back in February and potted them up so the crown was sitting above the compost level.

They are then placed in a warm, bright position to bring them into growth early. I want cuttings as soon as possible and so I use a heat mat or a heated sand bed. A greenhouse is ideal where the bright light conditions will produce stocky little shoots. This usually takes a good three weeks.

Now arm yourself with a sharp, clean knife, a plastic bag and some rooting hormone.

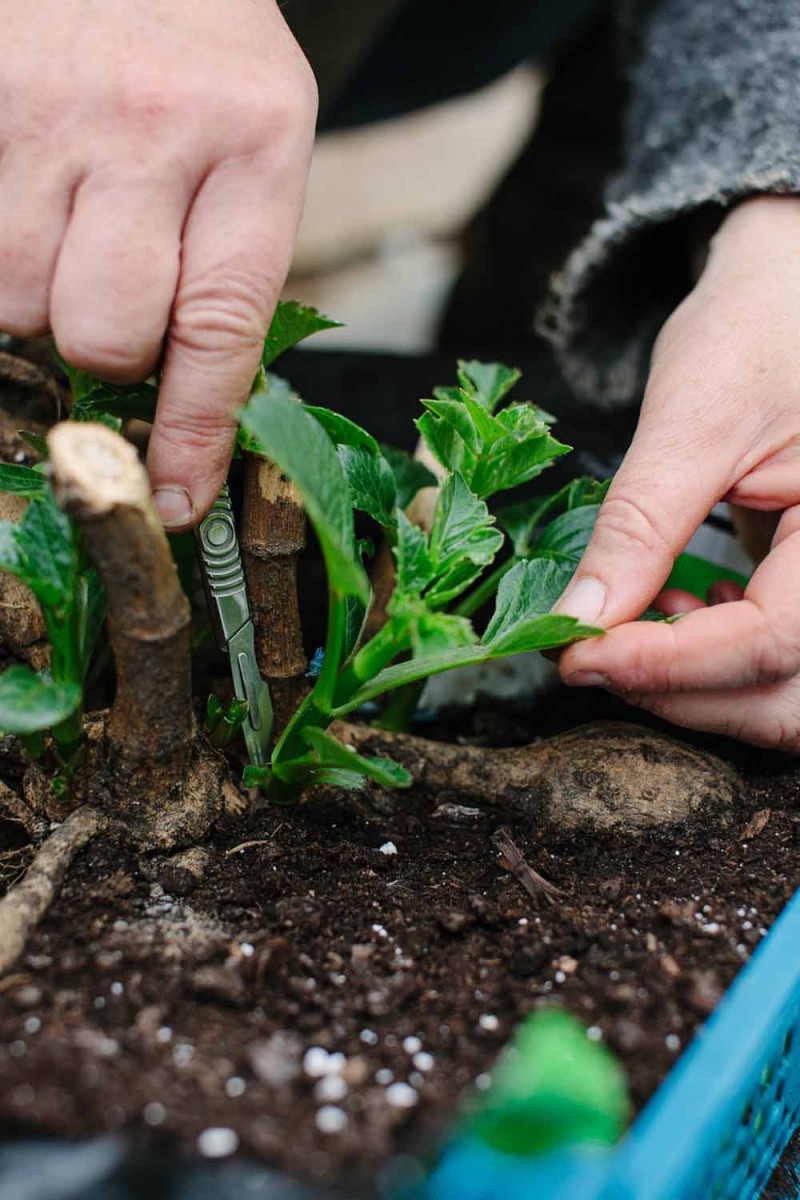
Cut the shoot right at the base, as close to the tuber as possible (preferably with a sliver of the tuber), being careful not to damage surrounding shoots.

Green & Gorgeous - March - 078

Check that your cutting has a solid centre, if hollow like a straw discard it as it will never root properly, only rot.

Green & Gorgeous - March - 079


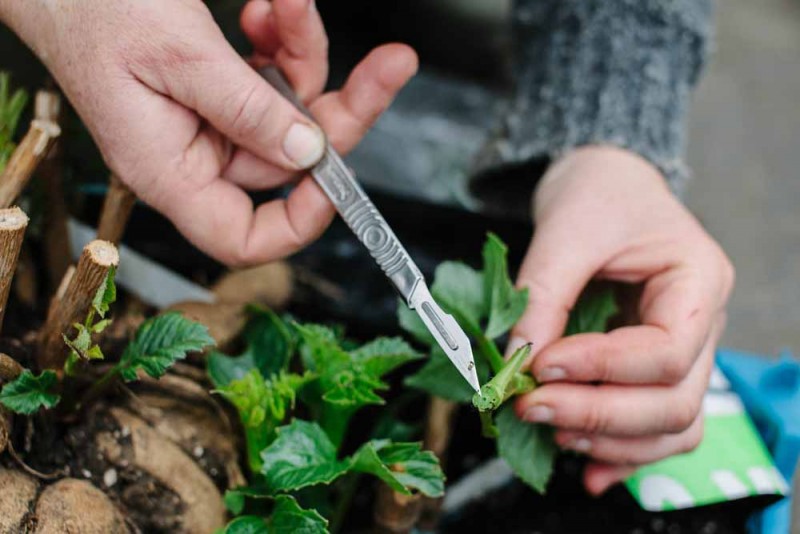
Remove any lower leaves and dip the end in the rooting powder. If there is still a lot of leaf cut the remaining ones in half.

Green & Gorgeous - March - 082

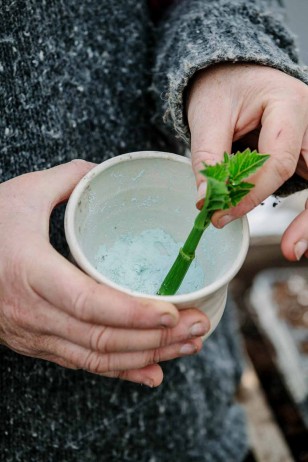
I like to take a lot of cuttings so mine go into plug trays but around the edge of a pot works just as well.

Green & Gorgeous - March - 090 (1)

Label and date your cuttings for reference later.

The cuttings must be kept out of direct light in a warm, moist environment until they have rooted which will take about 2-3 weeks. A clear plastic bag over your pot of cuttings will keep them from transpiring and expiring. Be patient and no fiddling…!

The next Dahlia Grow Along post will be about growing them on and planting them out. I am going to get a head start with some of the giant varieties in the polytunnel.


Sweet Pea Grow Along – Part 2

Hello Everyone and welcome to the second instalment of our Grow Along.

Hopefully you now  have your seeds, composts and deep pots or rootrainers at the ready.


  IMG_7830

Firstly, do not concern yourself with pre-soaking, chitting or scarifying your seeds. I find a really good watering in and a bit of warmth is enough to get your seeds germinating quickly.

  IMG_7837


Fill your pots with compost mixed with vermiculite, about 3 parts compost to 1 part vermiculite.

Using a dibber, pencil or any other pointy implement, dib a hole about 2.5cm/1 inch deep. Drop in your seed and give it a little prod to ensure it is at the bottom of the hole.


IMG_7839


Fill in the holes and label with the variety and date before watering gently from above or soaking in a tray.


The next step is to find somewhere warm (and mouse free), if you have a heat mat or propagator that’s perfect. Otherwise try an airing cupboard or near a radiator. Don’t worry they won’t be there long – as soon as you see a shoot, move the pots into a cool, bright position.


IMG_7931


At this point, cold and brigh conditions are what you want – I use an unheated greenhouse. Your aim is to grow stocky plants with lots of roots, so you can treat them mean. If it gets really cold (below minus 3-4 degrees C) they will need some protection, either turn on the greenhouse heater, cover them with horticultural fleece or bring them indoors.

Pinch out the growing tip when they have 3-4 pairs of leaves. This will encourage a side shoot to grow and create a bushy plant.


  IMG_7843

Keep your plants on the dry side during these winter months, I usually water them every couple of weeks.


Ground preparation is probably out of the question at the moment if your ground is as waterlogged as ours. So let’s get on to that with the next post.


Rachel Siegfried


0

Anemone crush

I have always been a fan of the
anemone, partly because it is one of the first flowers to break the
drudgery of our winters. It's jewel-like colours and velvety centre
are both a welcome relief and a signal that it is time to step up the pace .


IMG_6404

They are also extremely productive,
unlike the tulip with it's solitary bloom per bulb, the anemone
generously produces up to ten flowers over a few weeks from it's
strange little corm.

We plant ours in the polytunnel during
late September/early October. It helps to soak them overnight and the
soil they are going into must be fertile, moist and weed free. They
are very hardy, especially the Jerusalem variety which can be planted
outside. If so, mulch well and look out for the voles, which love
eating the corms.


IMG_6392

This year their timeliness and
productivity has been even more appreciated with a new variety for us
called 'Galilee Pastels'. I have been trying to get my hands on these
for a few seasons as their soft, muted tones are perfect for our
wedding work. Well, they were well worth waiting for: ivory, creamy-green,
smokey lilac and pink…exquisite.


IMG_6406


The warm weather over the past few days
has them coming thick and fast so now is the time to experience them,
have a look at our 'Best of the Bunch'. They have an excellent vase
life, giving a good ten days.


IMG_6416

3