Spring Florals Class with Jo Flowers

I met Jo Rodwell last summer when she came to the farm with a lovely group of linen-clad ladies on a floral foray with Sarah Winward. After bonding over peachy-coloured roses and poultry I asked if she would like to collaborate on a workshop the following season. She said she would love to, so eight months later here she is again rolling up with a van full of blossom and stone urns.

Credit: Erich McVey

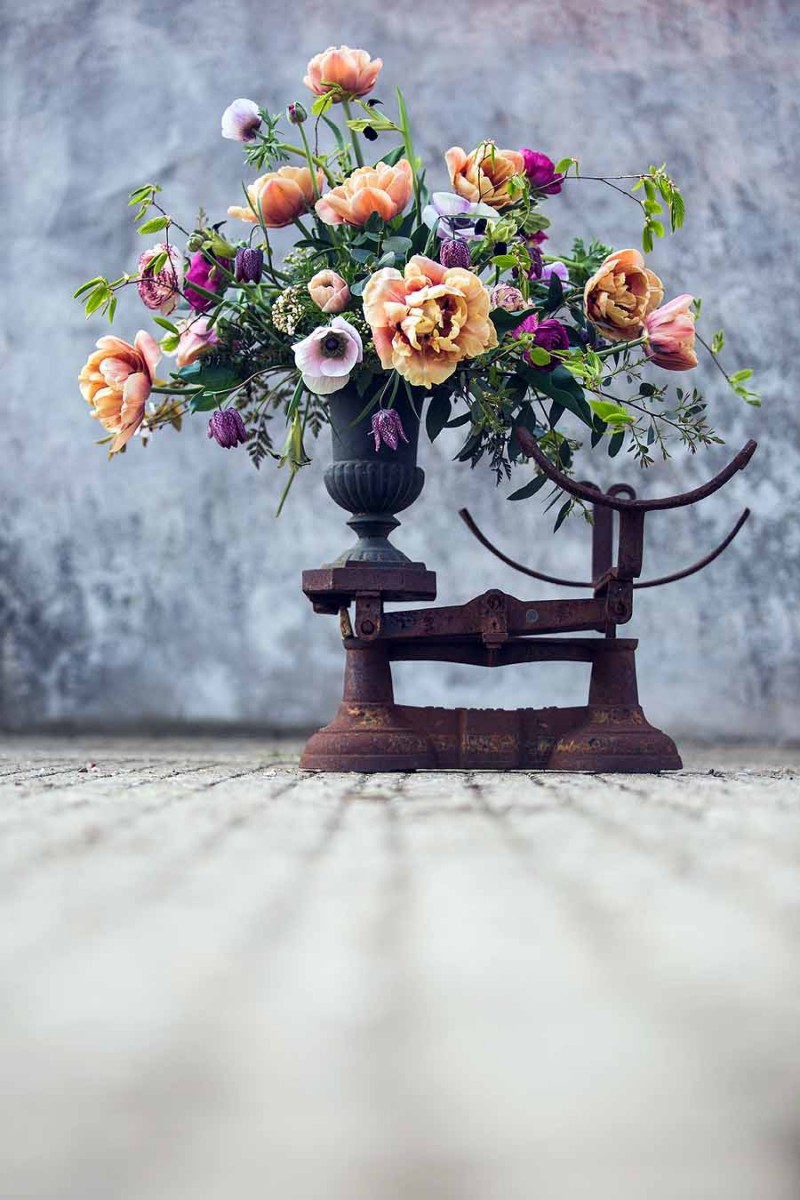
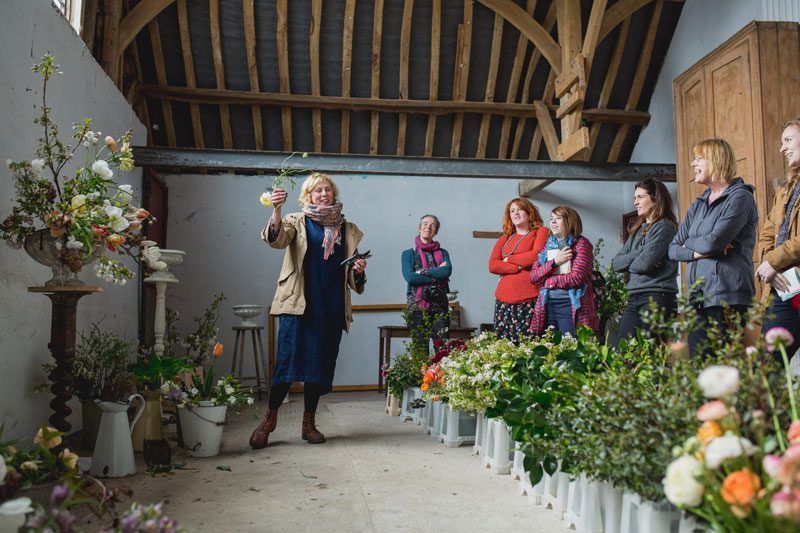
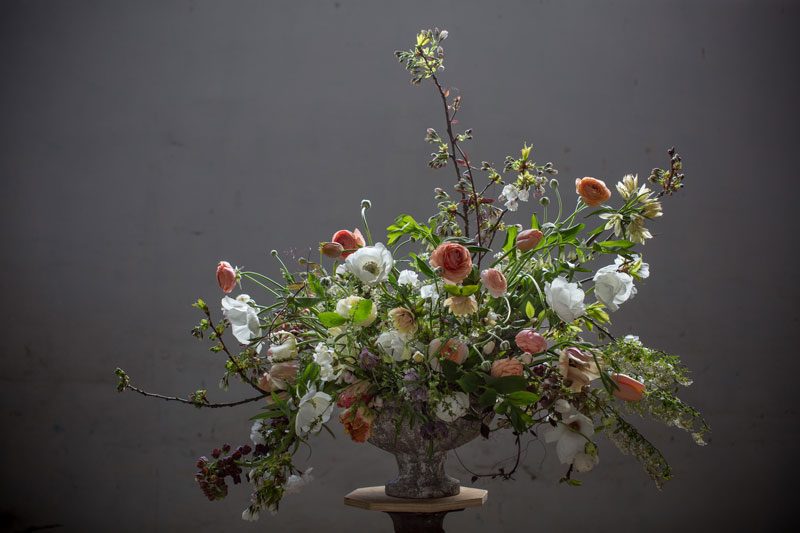
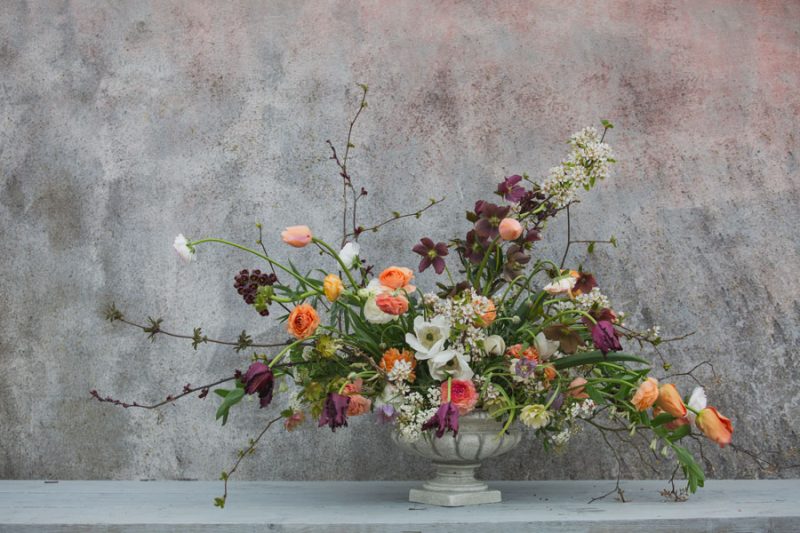
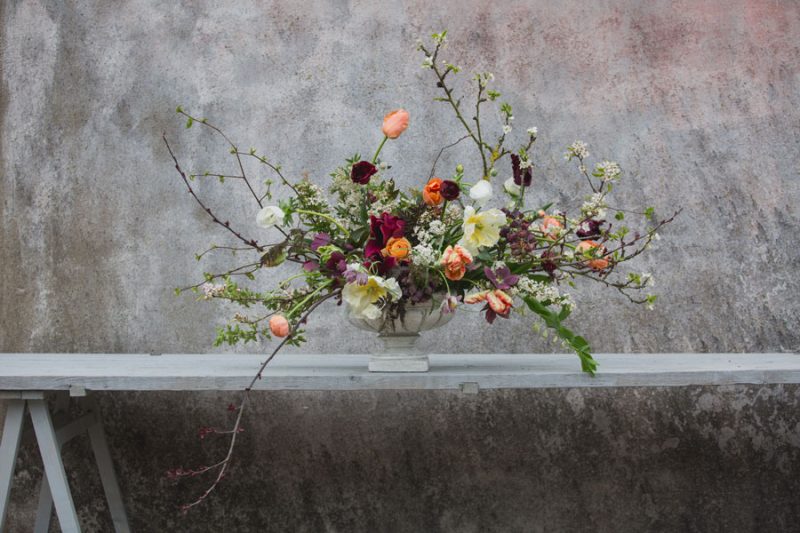
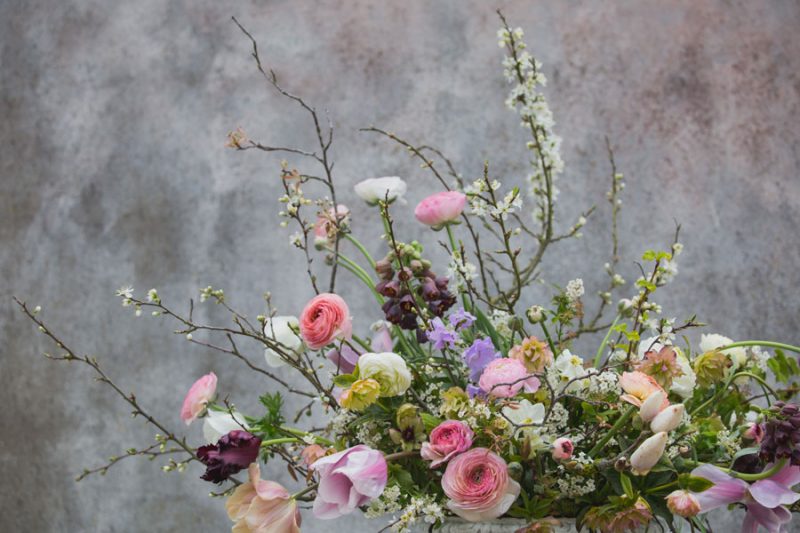
Jo is the mistress of painterly, wild and romantic urn arrangements and enjoys working on large scale designs. ‘Going big’ is often something people lack confidence in tackling so that seemed the perfect topic for the day. We had some old flowery friends come along to join us and some new ones only admired on Instagram before now.,,

AK7A8085

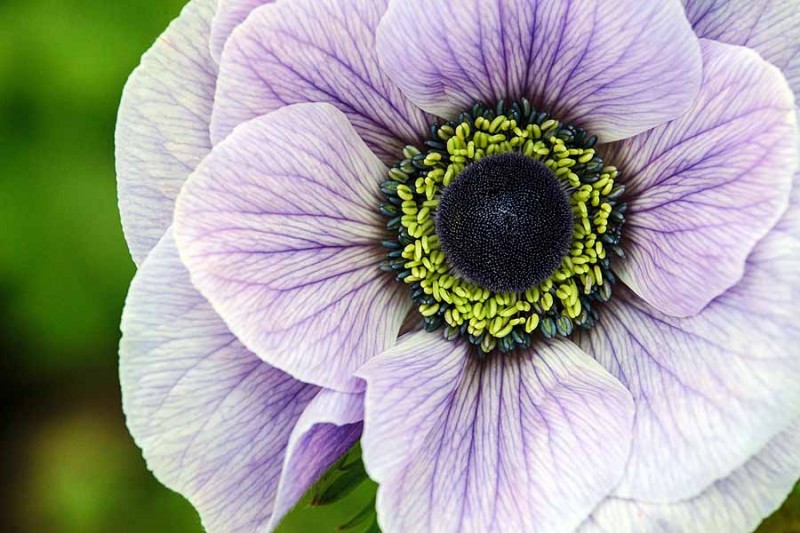
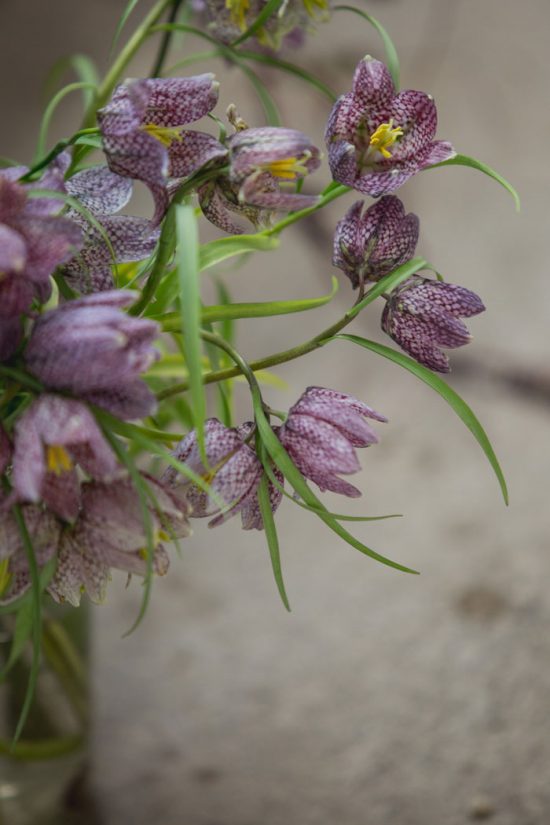
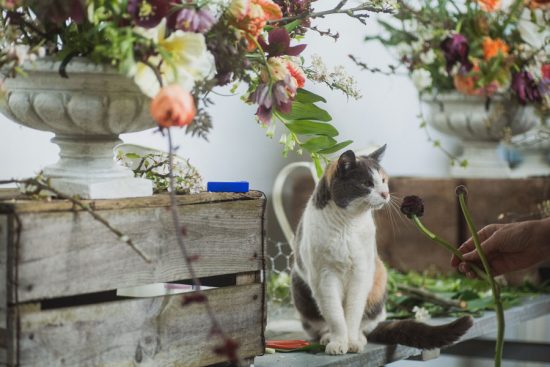
We were able to spread out into a beautiful new teaching space for the day, a very old tithe barn soon filled with buckets of blossoming branches and wonderfully long-stemmed Ranunculus from Julie Clark at Hillcrest Nurseries.

AK7A8205

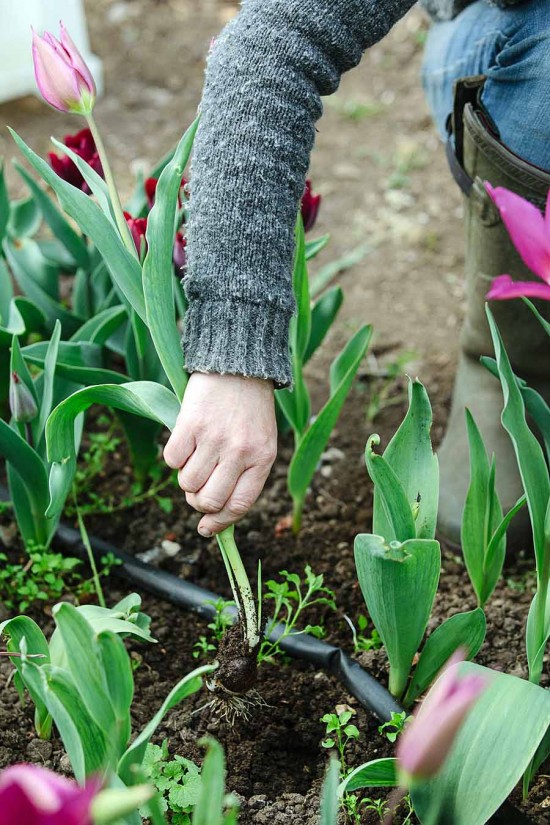
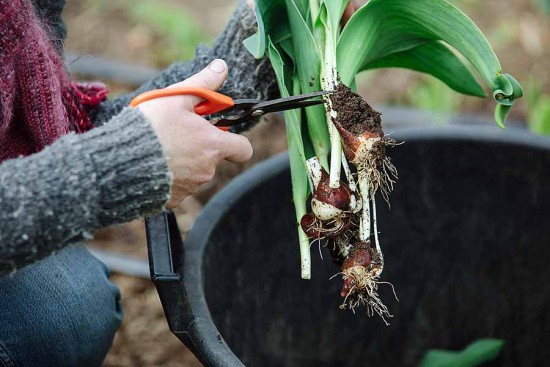
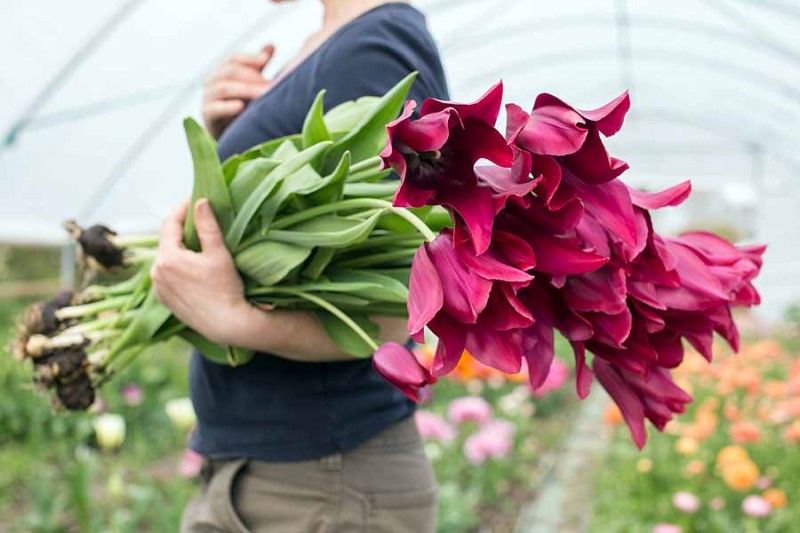
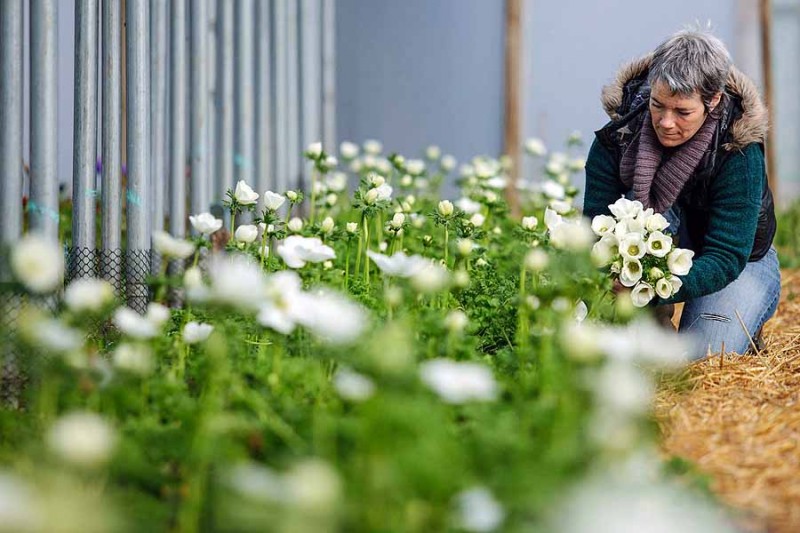
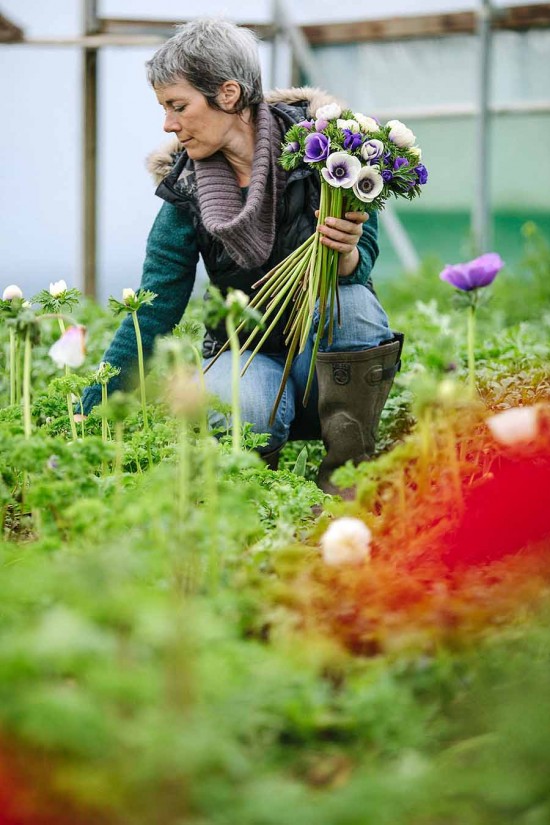
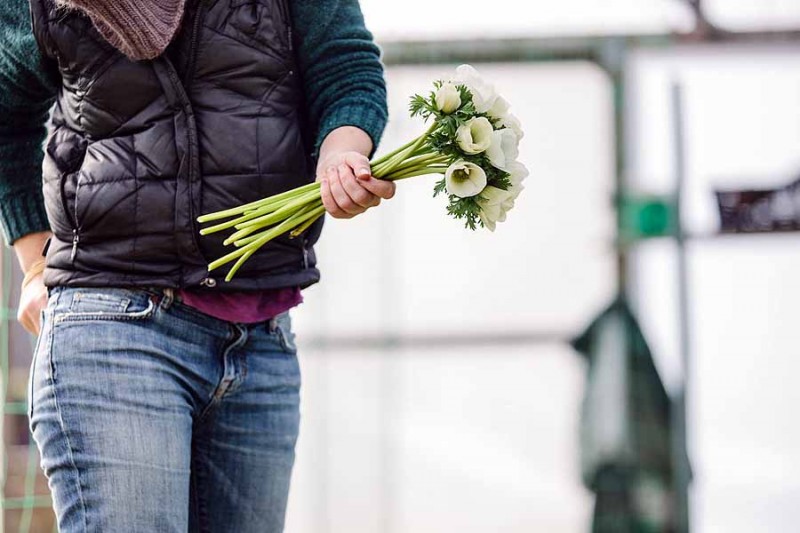
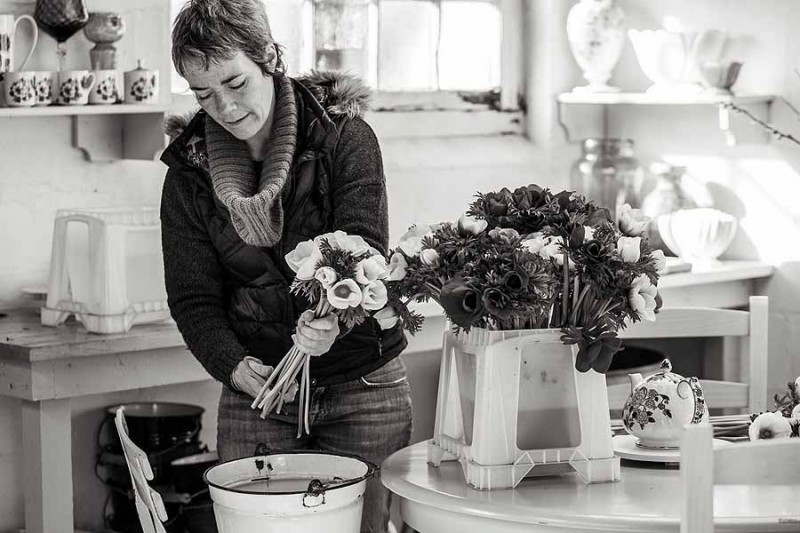
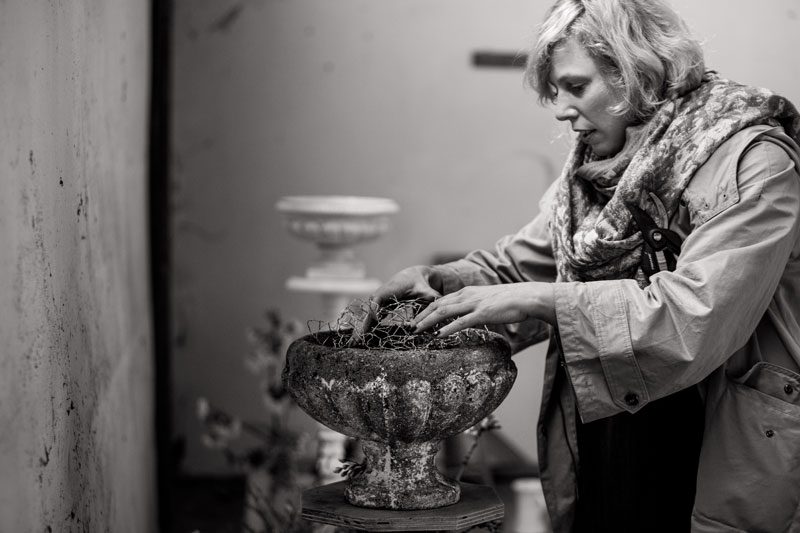
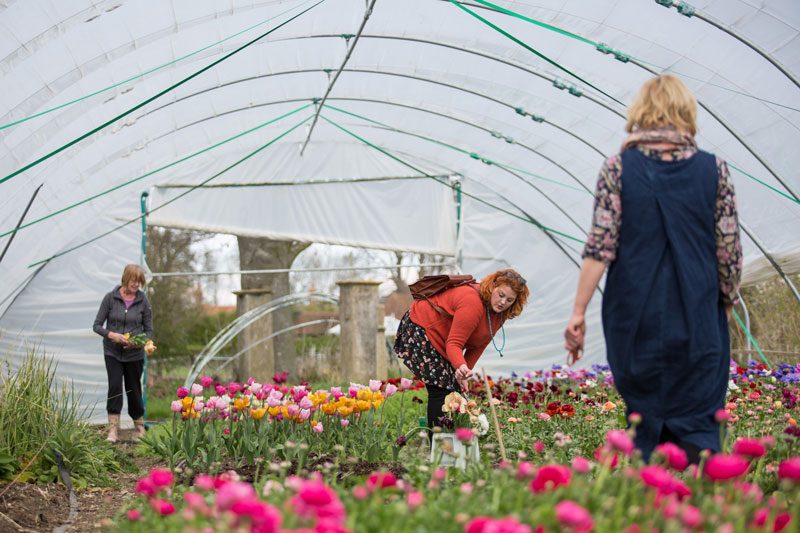
Of course I did not want to pick everything myself, because my contribution to the day was to let the attendees loose in the tunnels, field, hedgerow and orchard with a bucket and a pair of snips. I also kicked the day off with a tour of the farm and some tips on growing Spring cut flowers. After a chocolate chip cookie break (recipe courtesy of the fabulous Violet Bakery) we adjourned to the barn to watch Jo Flowers do her magic floral thing, bathed in a shaft of golden light. I love watching other people design with flowers, especially if they are really good, it is surprisingly therapeutic.

AK7A8103


AK7A8137


AK7A8169


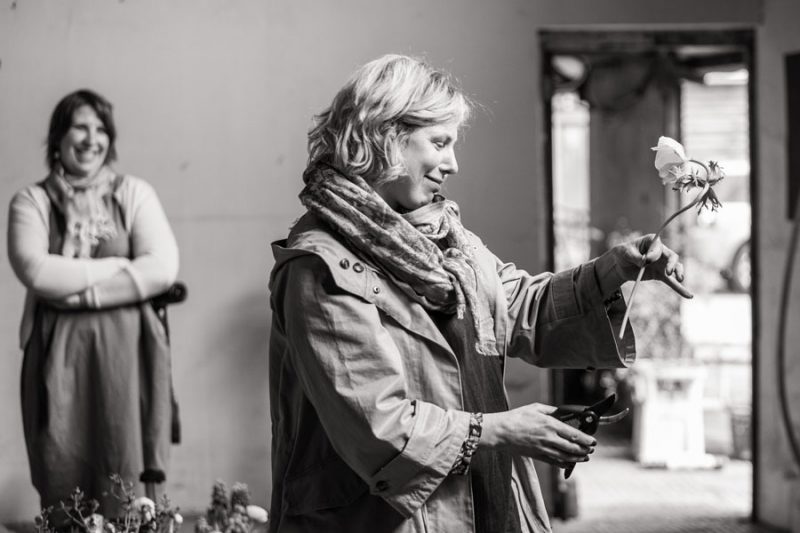
Jo worked at a thoughtful, considered pace which gave everyone the opportunity to ask questions  about her philosophy and practice.

AK7A8254

AK7A8197


AK7A8434

Then it was time for one of Ashley’s superb home cooked lunches – Spinach tart followed by Rhubarb Upside Down Pudding were enjoyed whilst sitting in the sunshine.

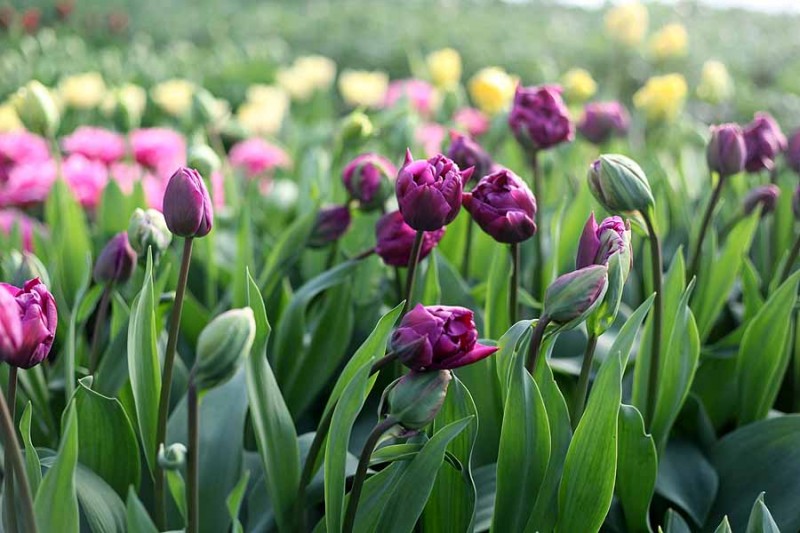
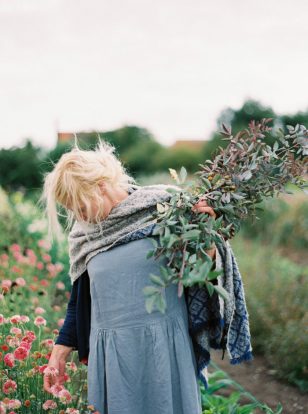
Fully fuelled, everyone was itching to get start picking, tulips were pulled from the tunnels and the pole lance came out in earnest to grab some choice branches of blossom.

AK7A8422

AK7A8312


AK7A8305

AK7A8200

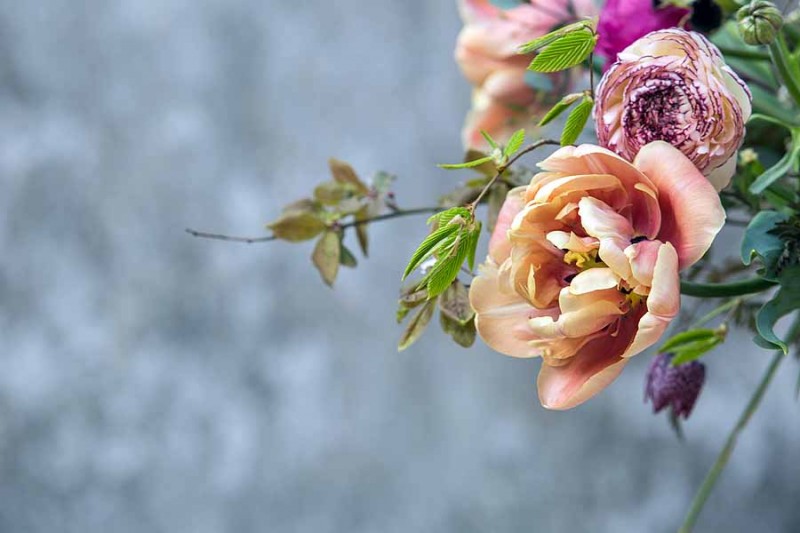
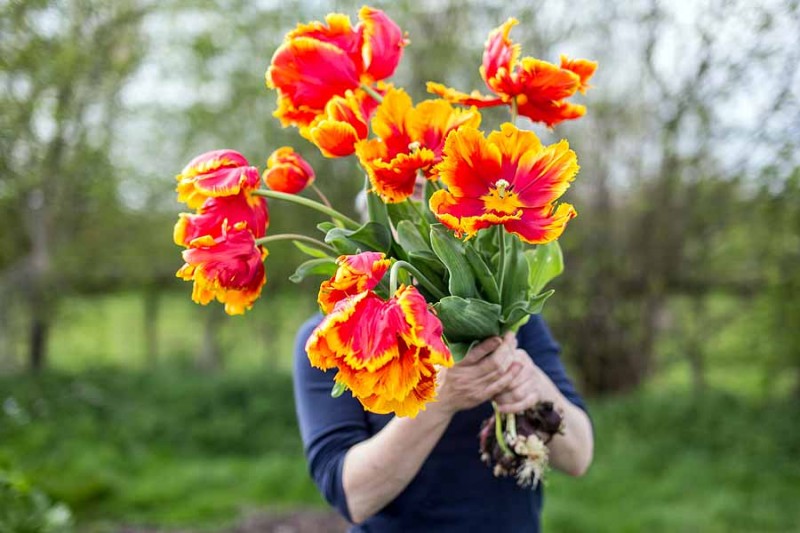
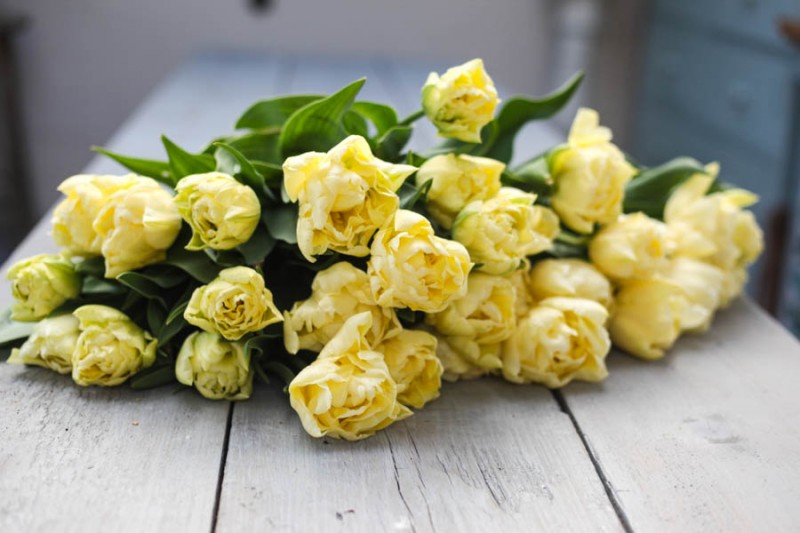
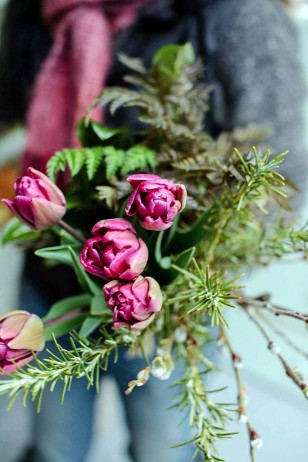
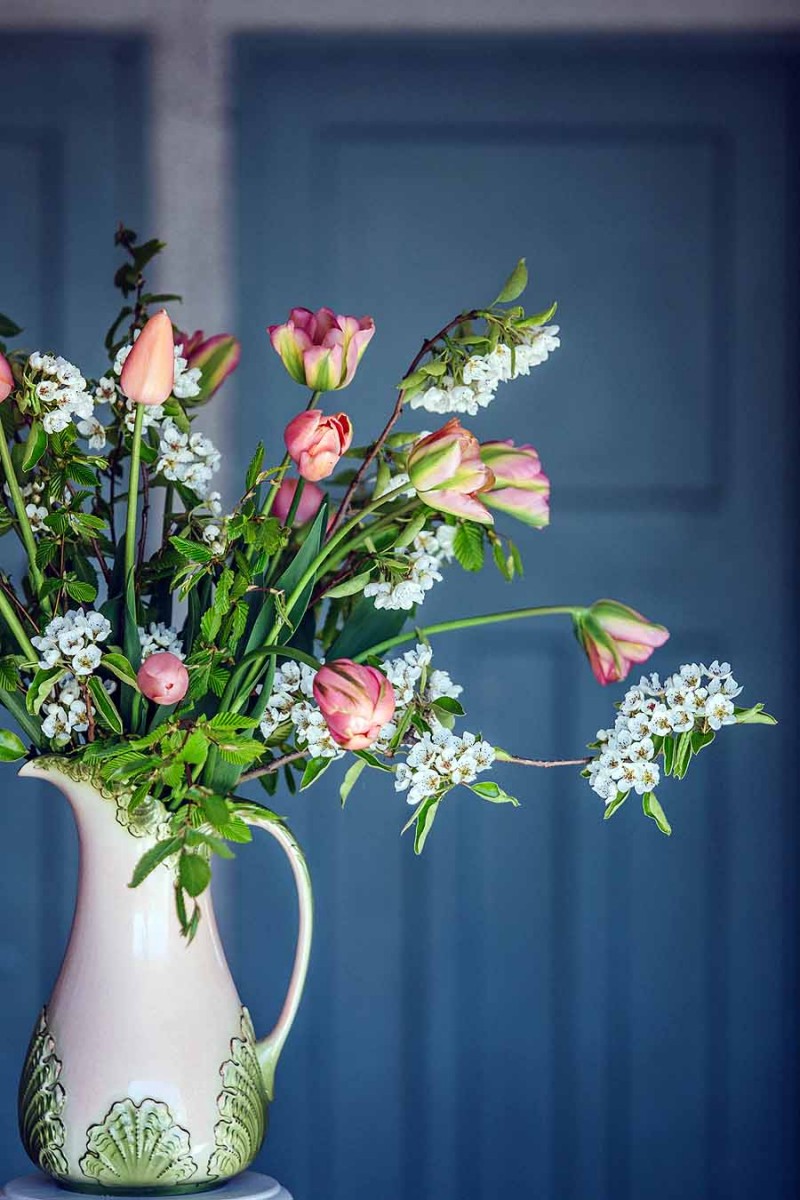
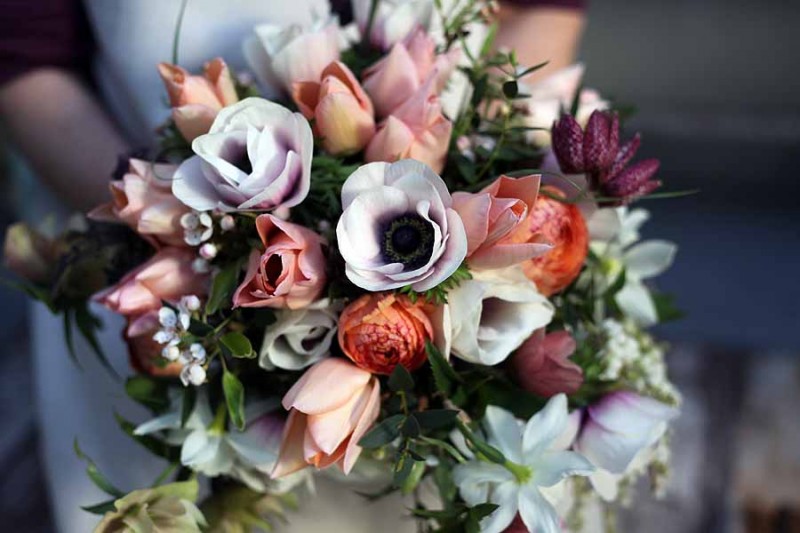
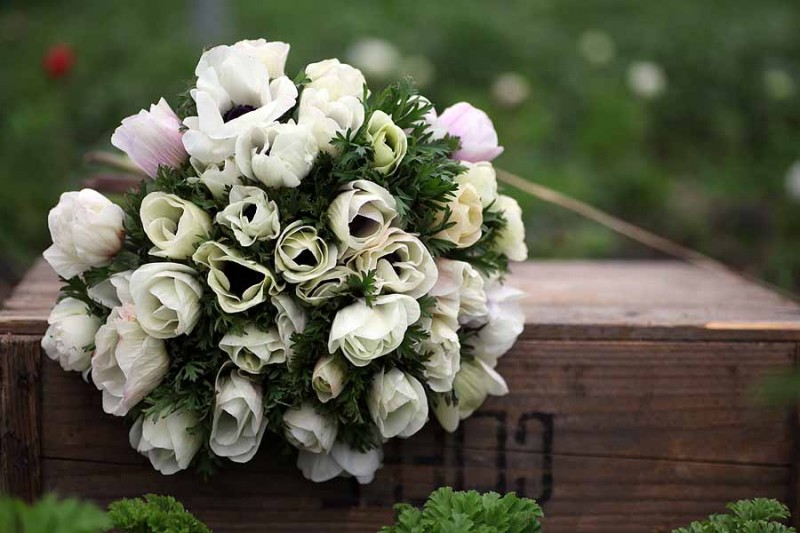
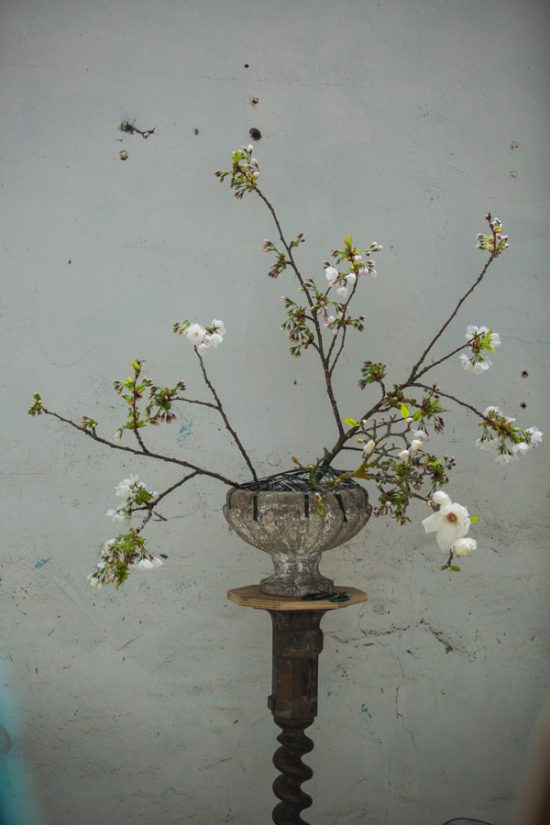
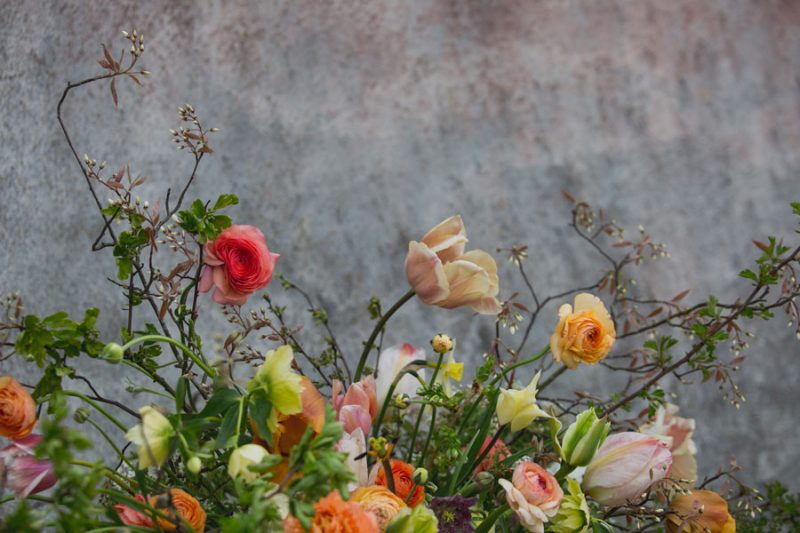
Here are some of the impressive arrangements made by everyone, it always amazes me how different the results can be when visitors use our flowers on any given day.

AK7A8706


AK7A8765


AK7A8698


AK7A8728


Huge thanks to Clare West for capturing a wonderful day and for everyone being such a fun group. You can find Jo Flowers’ blog here.


AK7A8629

Rachel Siegfried

3

The Cultivated Palette Series – Tulips

CW__7564

I have decided to make this post short and sweet because that is how my tulips are this year! Our record breaking mild winter did not give the bulbs the cooling period they need for good stem length. Ideally they require a good 12-14 weeks ‘cold period’ to produce quality cutting stems. I think I will try to order the bulbs as early as possible this year and store them in our chiller to pre-cool them before planting in November, if and only if it is cold enough.

Anyway, looking back at taller years, here are some of the varieties and cultivation methods I use for luscious blooms to grace my March and April floral work.

CW__7548

I opt to grow the majority of my tulips under cover which normally results in better stem length as they get slightly drawn and unblemished perfect petals. Planting them closely together also helps, no more than 10 cm apart. The only downside to this being if we get a warm spell in April (which any normal person would be very happy about) as it tends to make them all come at once, early, middle and late cultivars.

IMG_9914

I often get gasps of horror when people watch me harvesting tulips as I just pull them out, bulb and all.

Green & Gorgeous - March - 060

The bulb is then cut off and composted and so it becomes an annual (albeit expensive) crop.

Green & Gorgeous - March - 061

There are many advantages to growing them this way; even more stem length as you get the extra bit under the ground, bulbs are dibbed in shallowly so no trenches or backbreaking work, the ground is cleared and ready for the next annual crop and it means you get to try new varieties every year!

CW__9197 (2)

Talking of varieties I am a sucker for anything with ‘new’ written next to it but I do have some reliable favourites that I grow year on year. My favourite groups are peony/double and viridiflora types.

I always start the season with lots of ‘Verona’ a pale yellow peony tulip with decent stem length for an early double type and such a long vase life.

IMG_4070

These are closely followed by ‘Blue Diamond’ an unusual antique, puce colour and two classics ‘Angelique’ and ‘Mont Tacoma’.

Green & Gorgeous - March - 140

The recently introduced ‘La Belle Epoque’ rounds off the season with a mouthwatering colour combination of coffee and peachy pink.

CW__7580 (1)

The viridiflora types are characterized by a green stripe on the the petals. My favourite is ‘Spring Green’ because they go with anything and are effortlessly stylish. This pink variety ‘Greenland’ has been paired with a coral single late variety called ‘Menton’ and pear blossom.

Green & Gorgeous - April - 086

For stem length, Lily-flowered varieties are worth trying. Their pointed petal tips and hourglass shape bring a contrasting elegance to the fuller peony and parrot types. They tend to flower a bit later as well giving some succession to the tulip harvest.

CW__9189

Floppy Parrot tulips are definitely happier in my tunnels where they are sheltered from heavy Spring showers. Black Parrot is great for a sophisticated look and Flaming Parrot or Apricot for some Dutch Master decadence.

CW__7705

To source your tulips and see a whole host of other varieties I would recommend looking at Peter Nyssen or Gee Tee.

They both supply good quality and reasonably priced bulbs, which is important if you are going to use them as an annual in your cutting beds.

CW__7637 (1)

When conditioning tulips I just put a couple of inches of water in the bucket, I find if they are immersed in deep water it ruins the leaves.

Photographs (mostly) by Clare West.


Next up will be my favourite Spring flower – Ranunculus.

The Cultivated Palette Series – Anemones

IMG_8965

I have been picking Anemones in our tunnels today, they have started flowering a month earlier than expected this year, which to be honest is a bit of a pain as I am not in the full swing of weddings, farm gate sales or deliveries. So that means I get to have them in the house – great, generous vasefuls…what decadence.

IMG_9699

Looking back at my blogs I discover that I have written about them before in ‘Anemone Crush‘, I class them as one of my best sellers and a welcome bit of colour and cash flow after a long winter.


Green & Gorgeous - March -29

They are good little moneymakers with each corm producing up to twenty stems over a prolonged period of at least two months.

I am always intrigued at what makes a flower popular and I think in the case of the Anemone it has a multitude of assets to persuade people to buy, including it’s jewel-bright colours to jolt us out of our winter hibernation, a surprisingly long vase life and an irresistible sense of nostalgia.

CW__7463 (1)

I source my corms from France and as they are cut flower grade they are expensive, more than Ranunculus claws so this is important to bear in mind when/if you are selling the cut flowers. They are bred in Israel (hence the biblical names), I have tried all the varieties and prefer Galilee, particularly the pastel range, which has stonking stems and good resistance to Botrytis which is an issue when growing in tunnels over winter.

Green & Gorgeous - March - 041

If you are not blessed with a tunnel or greenhouse I would recommend the Jerusalem strain for outdoors with a generous mulch, or opt for a Spring planting instead.

Green & Gorgeous - March -52

I try to get the corms tucked up in the polytunnel by late September/early October, as I find later plantings are never as productive. The growing area must be well prepared, we till in plenty of organic matter and give the bed a good soaking a few days before planting. Good, even moisture is essential particularly in the first couple of weeks, so we irrigate regularly during this period with 3-4 lines of t -tape across metre wide beds.

IMG_3843

I soak the corms for about 24 hours before planting which helps to get them shooting quickly, but also makes it easier to see which way is up! They are dibbed in at about 20cm apart.

You may find voles are an issue, they love feasting on Anemone corms and can devastate a crop if not deterred. We use a combination of cats, garlic, chilli, traps, mole repellents and physical barriers. I know it sounds a bit over the top but this arsenal does seem to work.

Depending on temperature they normally start to flower in late February and then all you should have to do is keep picking.

Green & Gorgeous - March -42

Anemones are one of the flowers I tend to pick myself as I have found people struggle to see when they are at the right stage. Too tight (or as I call it unripe) and they never reach their full potential.

Green & Gorgeous - March -46

When they first emerge their heads are bowed down, wait until till they are pointing upwards and slightly open with the eye peeking at you.

Green & Gorgeous - March -35

I condition mine for 24 hours in bunches of ten with a band at the top and bottom of the stems, this helps to set them straight.

Green & Gorgeous - March -60

Once the crop has finished we clear and compost the corms. Anemones are prone to virus spread by aphids and I find they are never as good the following year, plus I need the precious covered space for the next indoor crop.

Next month I will be looking at tulips, my favourite varieties for cutting and the tricks to getting a quality cut stem which would make the Dutch blush!


All pictures by Clare West Photography