It’s All in the Vase – homegrown & handmade

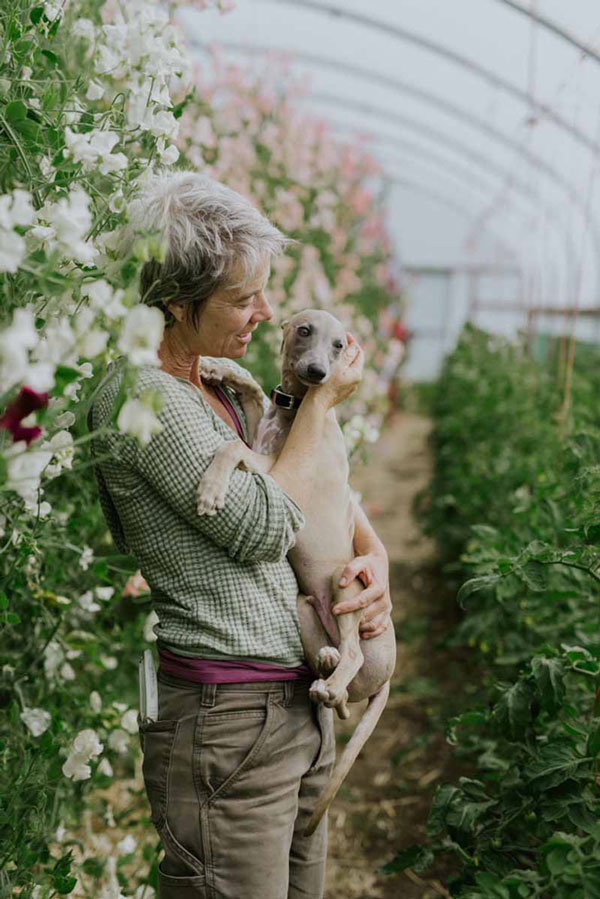
Here I am back in the blogging saddle, with my usual January good intentions. I thought I would focus on a recurring theme that shaped 2016 – the vase– and how it has motivated me to introduce a series of new floristry workshops for the season ahead.

This preoccupation with what to put my flowers in has been bubbling away for a few years now with my attempts to master the potter’s wheel and fulfil my dream of setting up a ceramic studio here at Green and Gorgeous, where I would throw tailor-made vessels to perfectly complement my garden-grown beauties.

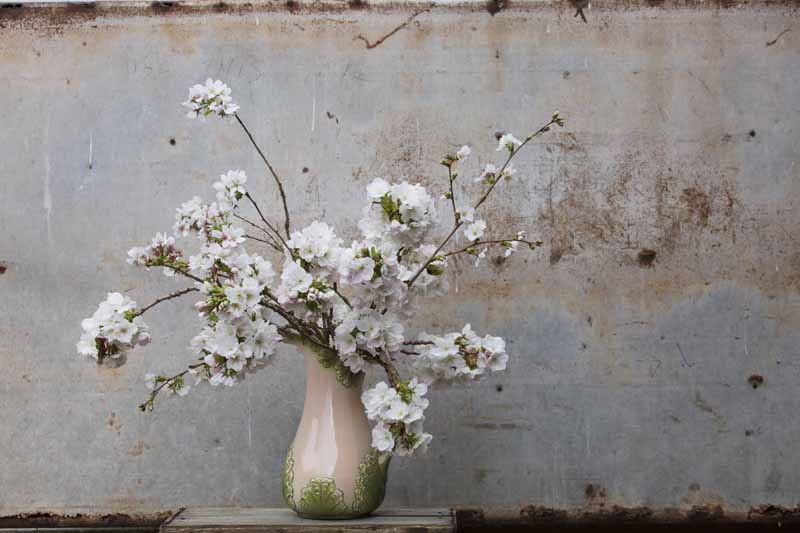
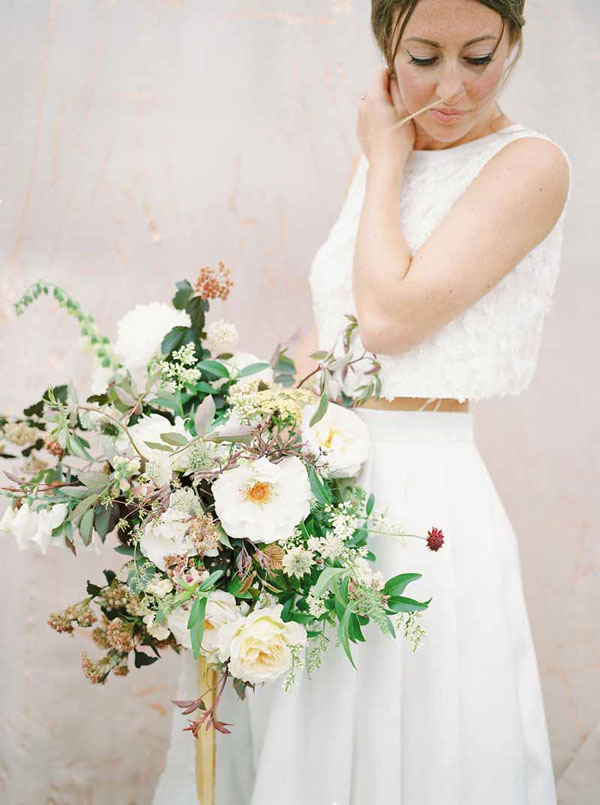
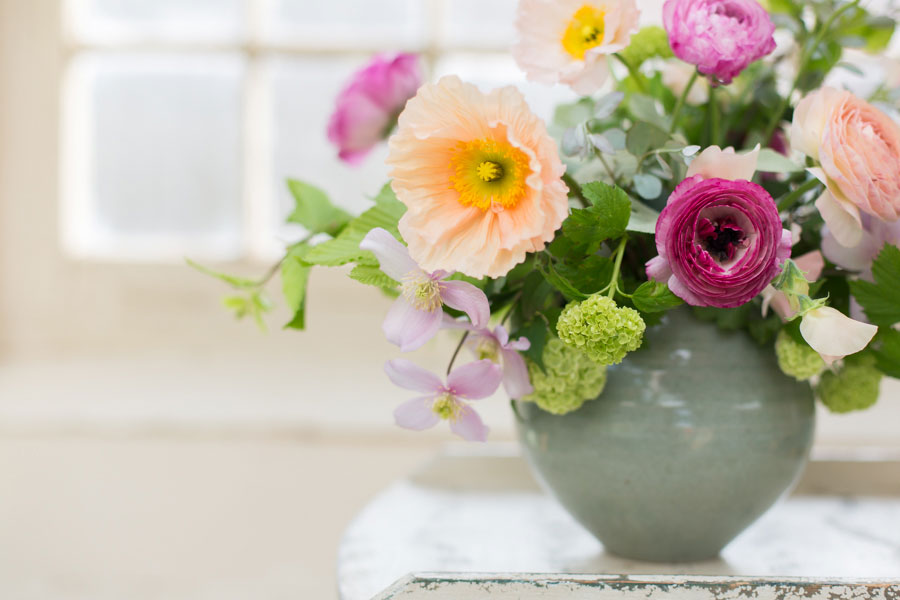
This longing was reinforced this year whilst working on a floristry book with Dorling and Kindersley in which I was commissioned to create a series of seasonal vase arrangements (more about that next month when the book comes out maybe…). As we progressed through the flowering months I struggled to find the right shape and finish of vessel to echo my seasonal selections. Instead of feeling compromised by what you can find, wouldn’t it be great if you could design and make that ‘enhancing’ vase, perfect in shape, colour and texture for your arrangement..?

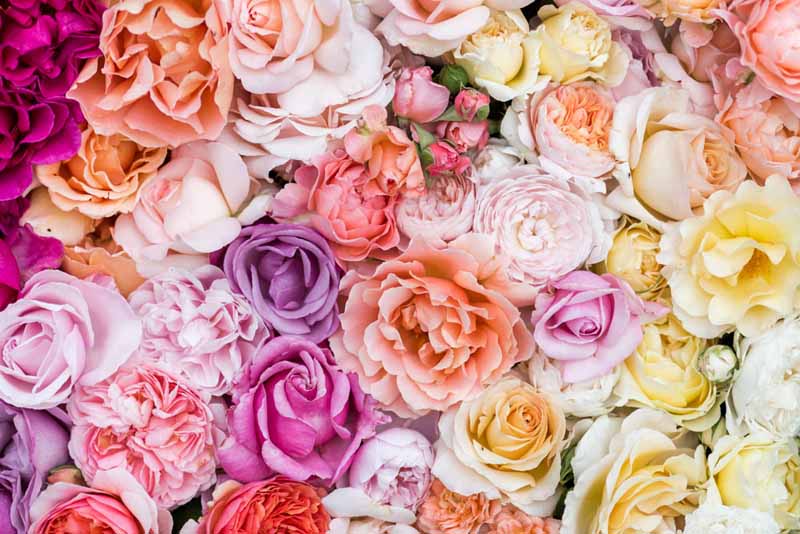
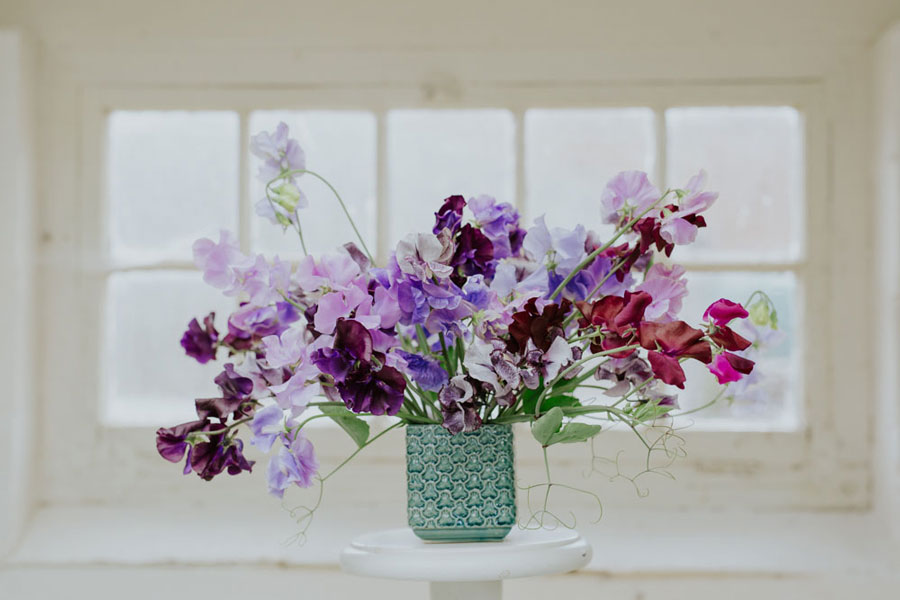
I have always felt that the vessel, vase, container (whatever you choose to call it) is equally as important as the flowers. I guess I have become a little bored of vintage (apart from fan vases of course!), very very bored of jam jars and find the throwaway imports offered at the wholesalers rather depressing. Being a bit of a purist I wanted to explore the idea of everything about the floral design being not only homegrown but handmade….

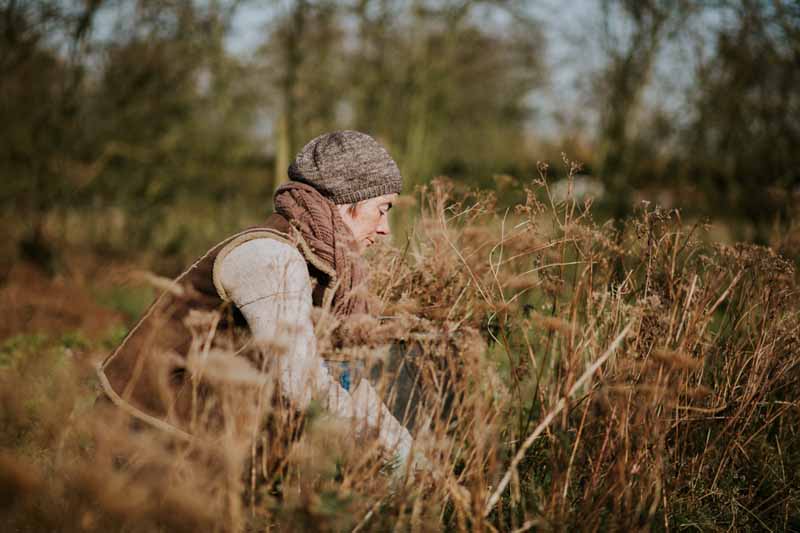
My quest to throw that vase is ongoing – just before Christmas I spent three days on a residential pottery course at the wonderful West Dean College. For anyone who yearns for a bit of quiet, creative downtime in a gorgeous setting with great food I can highly recommend it. I was so excited by my progress that on my return I went and bought myself a pottery wheel. Now all I need to do is keep practising!

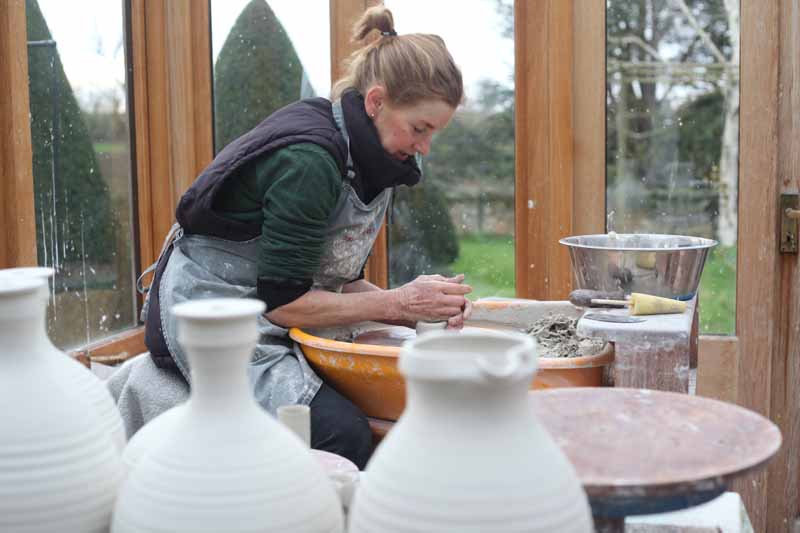
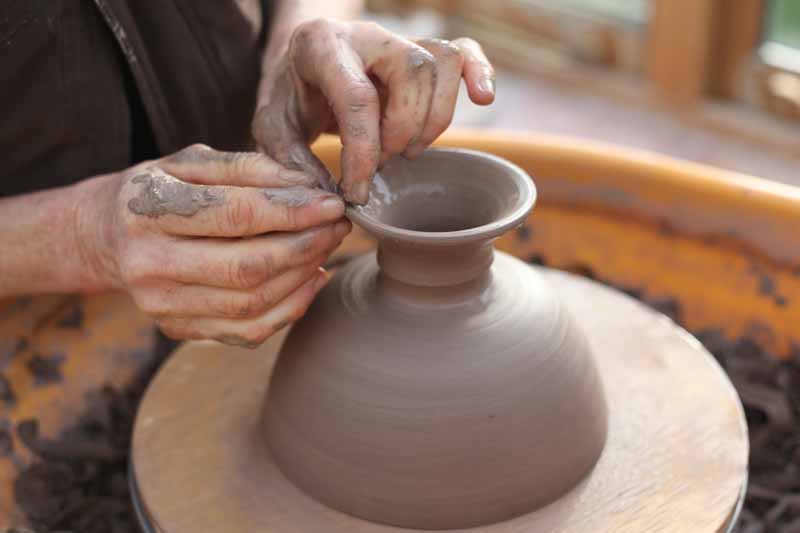
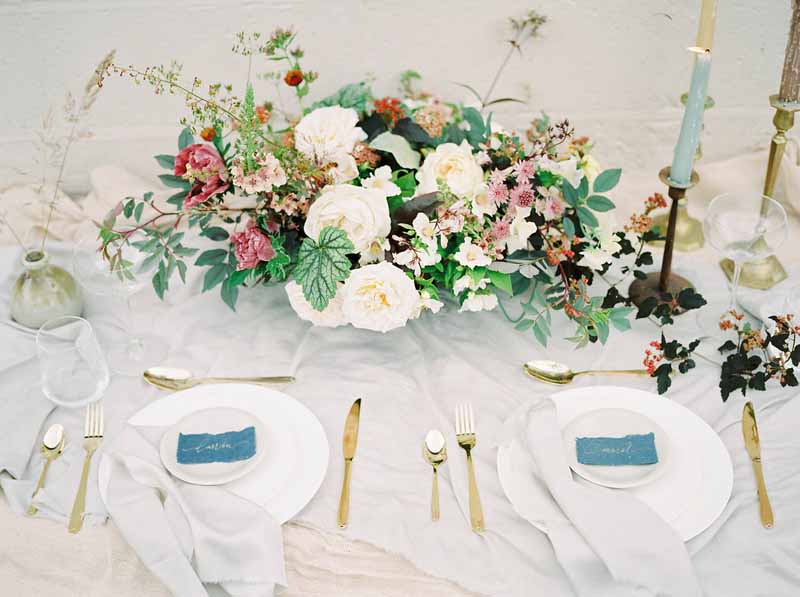
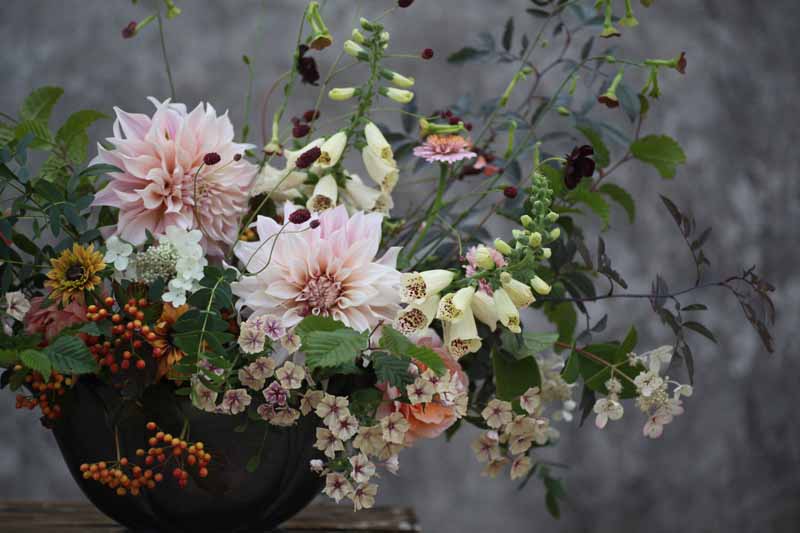
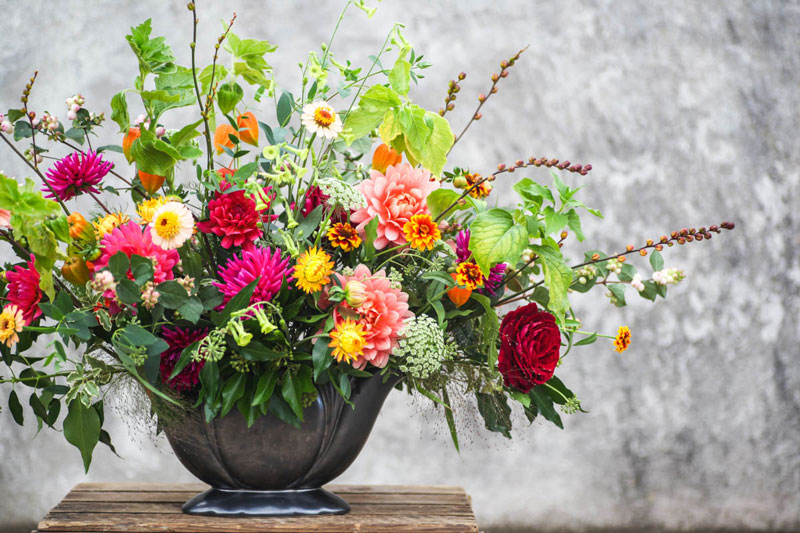
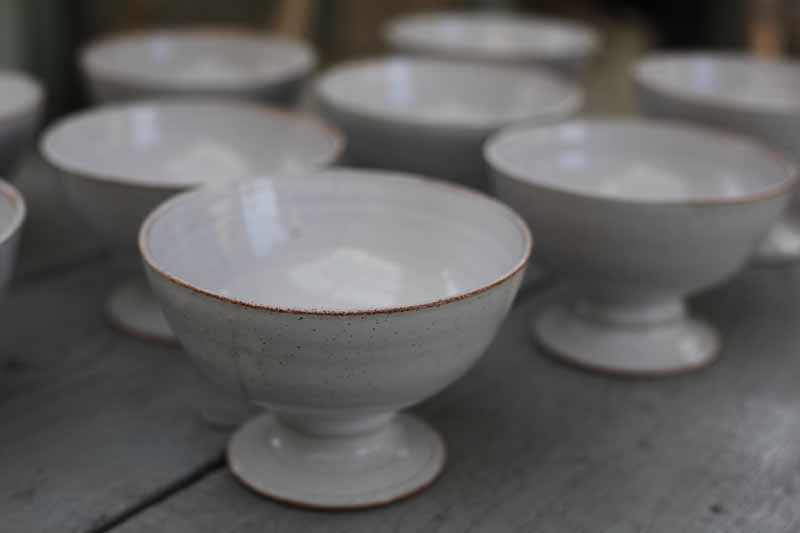
Anyway I am fortunate to also know a very talented potter nearby, Harriet Coleridge, so at the beginning of the year I asked her to make me some footed bowls to use as centrepieces for my wedding work. I recorded the process so you can see the skill and time it takes to make beautifully hand crafted pots. I have collaborated with Harriet for some years now for Artweeks and always enjoy the unique blend of my flowers and her pots.

We decided to go for a stoneware clay which can take a bit of wedding wear with a tin glaze, which is white, shiny and opaque, a good neutral for the florals.

The first step was to throw a bowl the correct shape and size ten times.

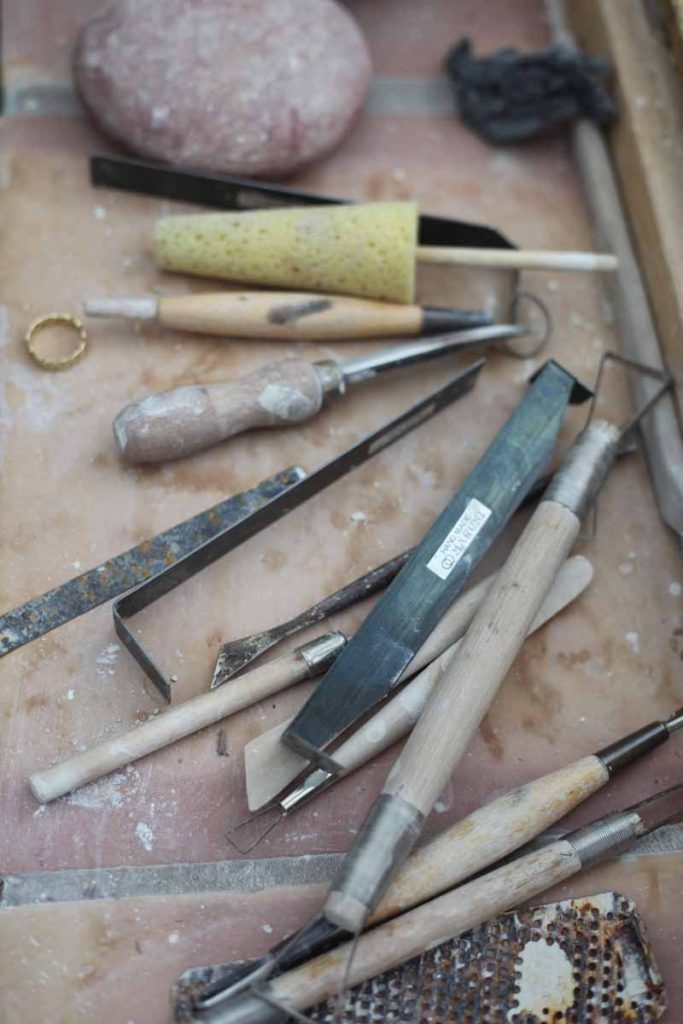
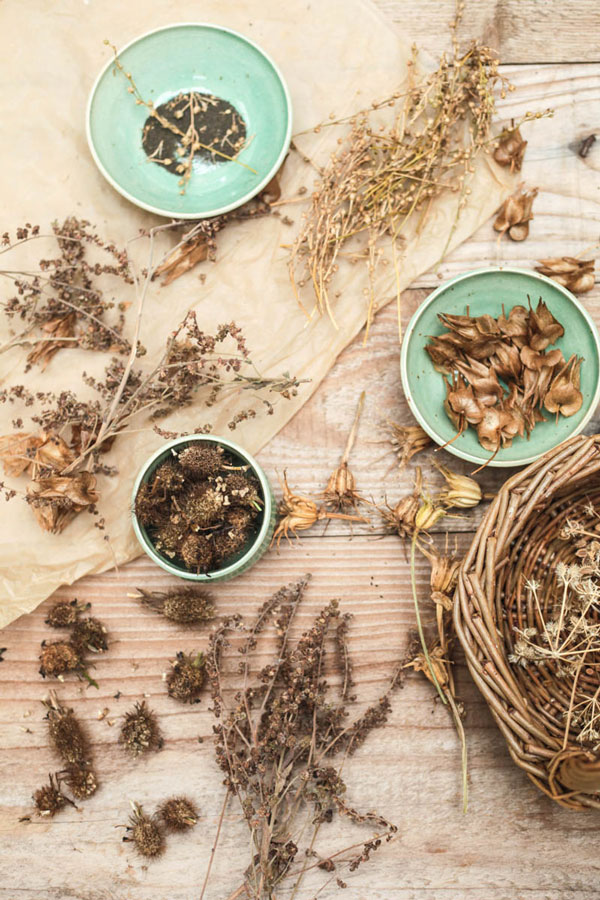
Some tools of the trade.

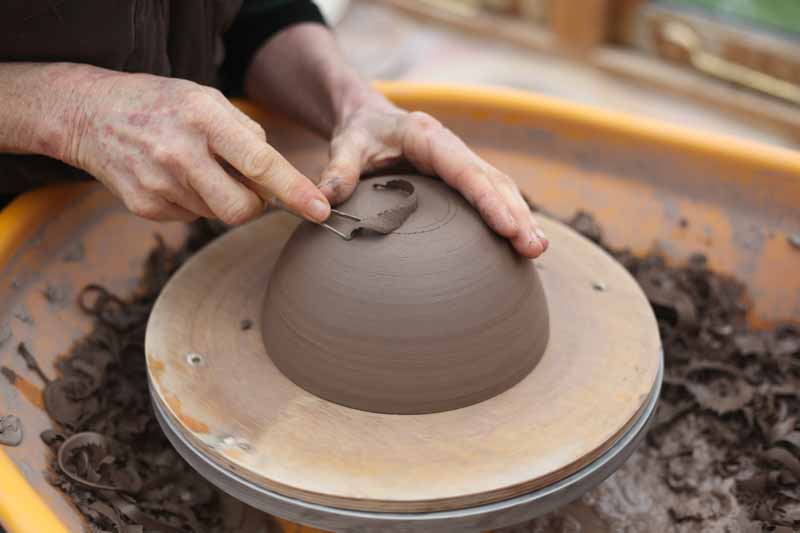
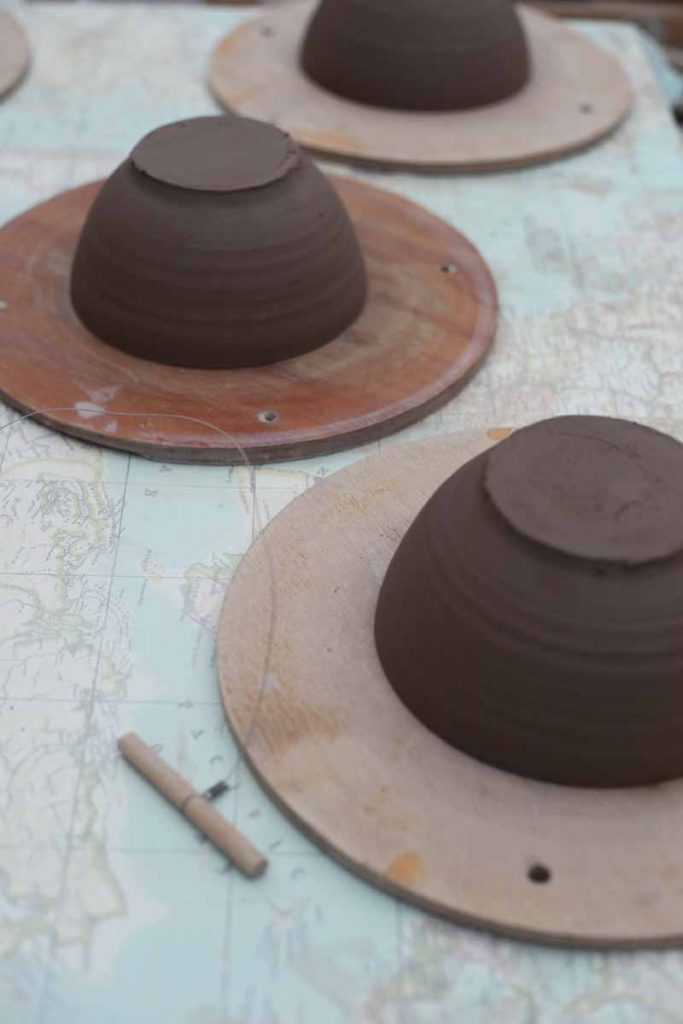
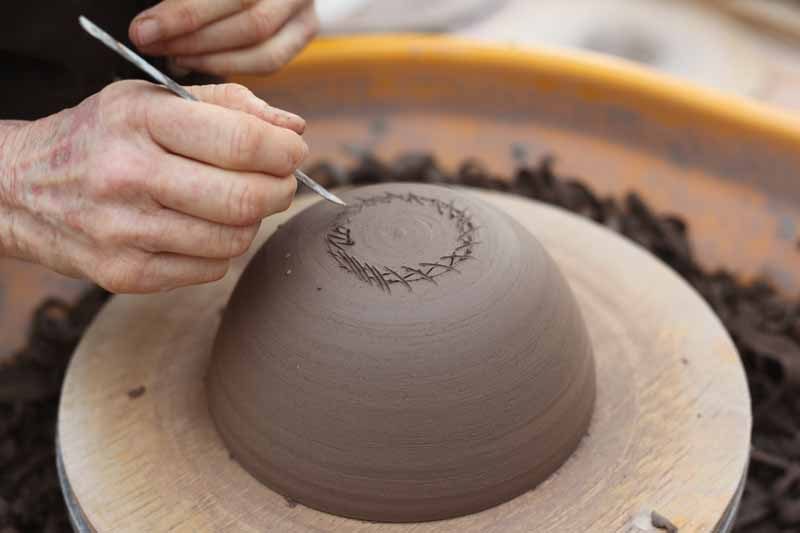
Once these were dried to the leather-hard stage they were ready to be trimmed to get a smooth curved shape ready for the foot to be attached. A bit of cross hatching marks the spot.

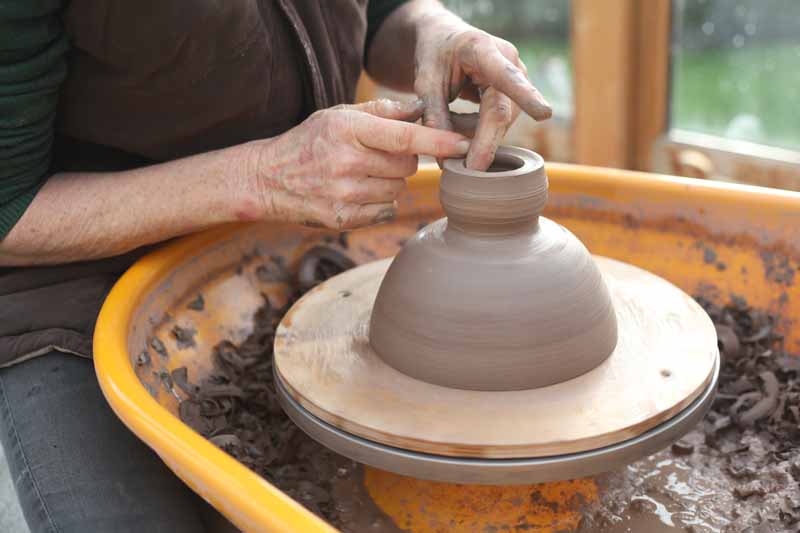
The foot is made separately by throwing a short cylinder of clay.

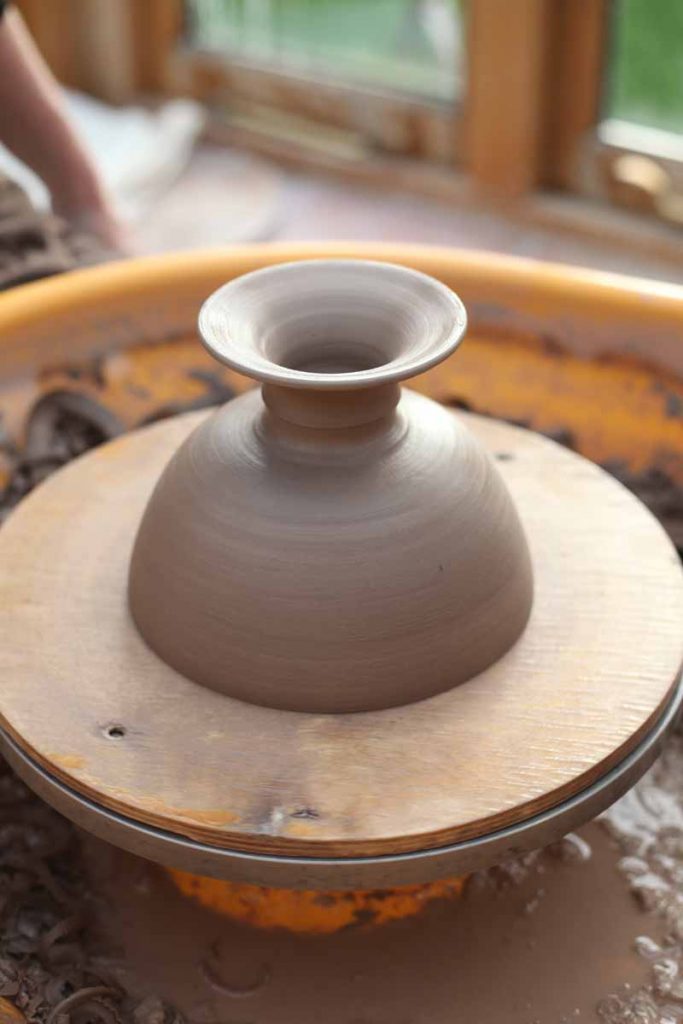
Once attached it is shaped on the bowl. Harriet makes this look easy but I can assure you it takes years of throwing to be so adept at it.

After a bisque firing the bowls are ready to be glazed. This requires a large bucket of well stirred glaze and a pair of tongs.

The finished bowls after their glaze firing, already booked for a number of weddings next year.

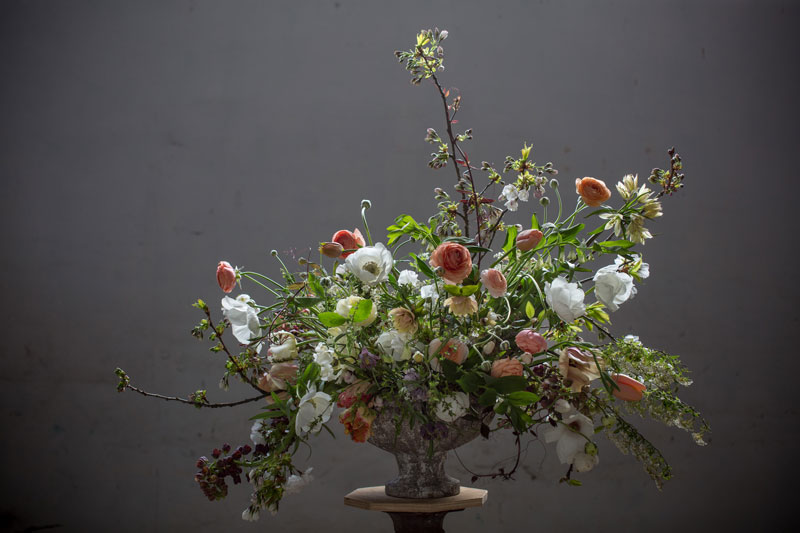
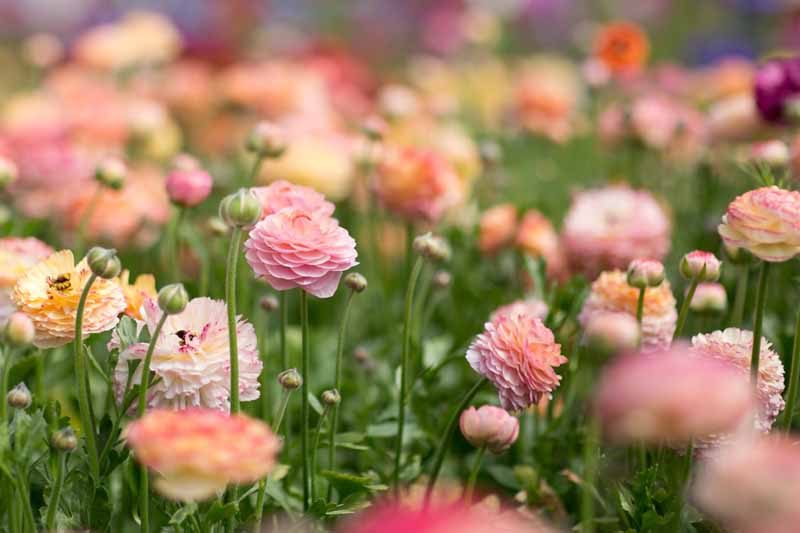
The next project for me and Harriet to work on will be to create a vessel for my first ‘All in the Vase’ workshop in the spring. I am imagining a wide, shallow shape to accommodate the fleshy stems of tulips, anemones and Ranunculus perhaps curving in slightly at the top to make arranging a little easier.

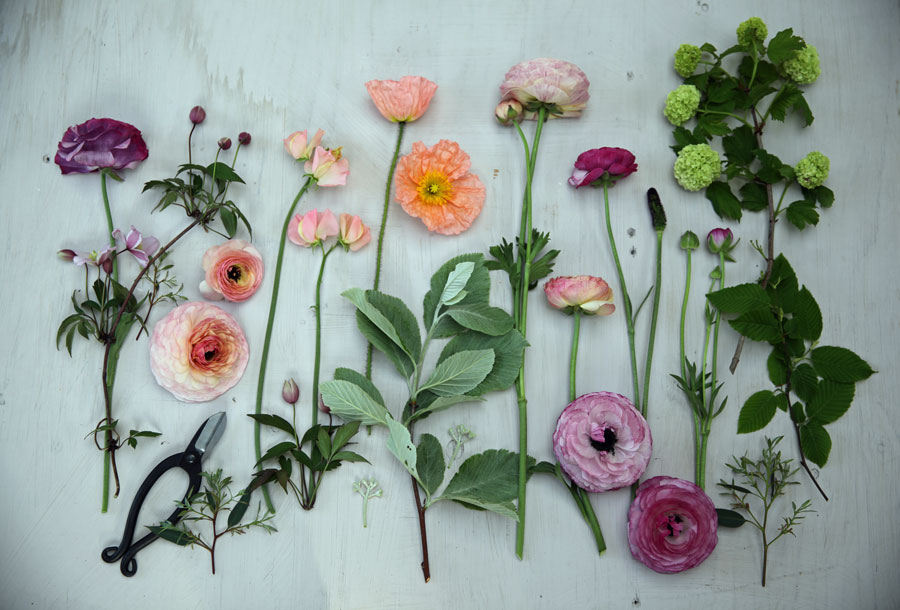
I have just put up dates for Summer and Autumn ‘All in the Vase’ classes, each will be quite distinct in the selection of florals and the vessels I source and create for them, if you would like to add to your vase collection and learn how to get the best out of them come and join us.

A Year in Pictures

January

Cutting back perennials and making pots (by Harriet Coleridge).


February

Hellebore appreciation and plant dyeing silk to make into ribbon.


March


Seed sowing, picking the first Anemones and the first wedding of the year.


April

Ranunculus time and a collaboration with Jo Flowers for a Spring Florals workshop.


May

May in a bouquet and the latest addition, Jesse the Whippet.


June

Our second Wedding Flowers Intensive workshop with The Garden Gate Flower Company and the Roses are abundant.


July

Sweet Peas picked on the vine now, Snapdragons start to flower in the tunnels and Ammi begins to set seed.


August

Zinnias and Dahlia ‘Cafe au lait’,  enjoy the heat and the berries begin!


September


Dahlia time and so much to go with them.


October

Chrysanthemums for the first time and I am converted.


November

The first frosts and it is time to lift the dahlias.


December

Keeping warm saving and storing seeds for 2017.


With thanks to photographic contributors Eva Nemeth, Clare West and Imogen Xiana.

Love Rachel and Ashley – Wishing you all the best for a happy and peaceful New Year. 


Machinery musings for the flower grower

img_6746

As horticulturalists, we all have to use our bodies about ten times more than the average punter, so I think we are in the best position to appreciate the odd spot of motorized help. I know it can be daunting to the newbies out there but getting to grips with some machinery is going to be essential to your growing business and fading body. So I have outlined a few options for making your life easier with small machinery, but you are going to have to fill up the odd jerry can on the way. I have saved rotovators for another day…


Hedge Trimmer

A beefy hedge trimmer can be very useful, as well as doing the obvious gardening duties. It can help you chop up woody waste and bulky stems on the compost heap to permit faster breakdown and allow rain to penetrate the heap. You will have lots more bulky and woodier material growing flowers, so your compost heap needs to be adjusted accordingly – you will need to find some greener, more nitrogenous material ideally to move things along. If you have a hedge trimmer it can save you getting a shredder and also makes clearing easier. You can sometimes cut down stems above and below bean netting to make extracting it easier from larger crops – there’s a Top Tip.

img_6748


I myself haven’t got on with the multi tool system with the various ends that attach to a 2 stroke unit, I find the Ryobi one I have (for emergencies) underpowered and a real pain to use for anything. It’s a very attractive proposition however, it’s probably just another example of ‘you get what you pay for’ or ‘should have bought a Stihl’.


Ride on Mower

img_6751

NOTE MACHINE FOR SPARES IN BACKGROUND, never been able to get the Ag tyres off it

I think these are almost essential kit to help out growers on a small scale, especially as 2nd hand decent machines are still available, they are simple to maintain with lots of spares and technical info freely available. Apart from mowing grass paths whilst you are carting waste or manure in a trailer (2 jobs for the price of one), they can also clear some crops and cut green manures.


Green and Gorgeous trailer

cw__1586

In conjunction with a small trailer they really can be motivational, compared to barrows that get full up with plant material in a jiffy (even with a 120L one). It can make clearing crops or cutting back with more than 1 person much more practical. They can make mucking beds easier as you can shovel directly from the back of a trailer…Ok, I’ll stop going on now.

trailerfullofweeds

MOWER FAIRYLAND or a trailer full of weeds…

The kind of thing I’m talking about is a Mountfield, Countax or Westwood and old enough to consist of  a lawnmower engine, with belts that run a cutting deck and back to a simple gearbox that drives the wheels. Usually 8 to 15hp in size, I have a 13hp Westwood that was only £350 on ebay and can tow large chicken coops. All the moving parts are on show and it is usually easy to spot problems – many parts and diagrams available from this website, Westwood Tractor Spares (they support lots of other makes too). If you do keep it cheap and cheerful with an older machine then if mechanical problems are more serious than swapping out easy parts (starter, solenoid, belts, blades, battery, possibly carburettor) then keep it for spares and get another one!


Shredder

So, it’s not the first thing to go and buy as they are expensive but they enable you to compost more effectively, although you have to factor in the time taken to shred your waste. You can also shred back onto beds directly and let material break down in situ (ok, not rose clippings but you’re burning those right?), which is quite a useful winter cover idea and labour saver. I covered a bit on our shredder in a composting blog a while back.

6a01310ff5e544970c017c37cce6a01310ff5e544970c017ee9813584970d-250wi


Compact tractor

Our site at G&G was designed with access to a compact tractor, (up to 20hp) like a Kubota/Iseki/Yanmar, so we have wide paths accordingly. They can be a really good investment if you have a larger plot as they can do all the things a ride on can but with the bonus of rotavating/ploughing, spreading manure too. If you get a larger one, a loader/bucket on the front is feasible and it can be your ‘goto’ solution for everything (See Floret’s Farm for example).

yellow-tractor-logo


We were able to borrow the farm’s Kubota initially when we started out growing vegetables – a bright yellow ex-gritting thing from Scotland that even had a cab, which was a real squeeze. We don’t use one now as we have a large tractor and C8 rotavator but I wouldn’t say no if one was available. We have gardening, market garden and field scale plots at G&G so that visitors/attendees can see the space that suits them, but we always stress planning your beds around practical aspects like machinery, as well as the more obvious factors like irrigation, shelter, aspect and soil considerations.

jalopy-kubota

THE SCOTTISH JALOPY with a Kubota rotavator

The Japanese/Asian brands I mentioned earlier are the most common at this size, especially second hand. Kubotas certainly hold their value and tend to be pretty bombproof and go forever. Beware the cheap Chinese rotavators and toppers often supplied with compact tractors as ‘smallholder packages’.


Maintenance and Repair

So, of course with some considerable gain comes a little pain – there will be a spot of winter TLC. I tend to just make sure I look at the filters (cleaning air, replacing fuel), with general greasing and lubrication and an do an oil change every year. Anything else is a bit OTT for the mostly old and tired fleet of machinery I have, but there are many resources online now and many hours can be wasted on YouTube in this area…You are supposed to run the fuel tank dry for winter storage, but hands up I have never been able to be organized enough to do that – preferring the ‘use it every now and then’ to stop it completely seizing up or giving it an excuse to let you down come Springtime.


Procurement

Obviously Ebay is a great starting point to familiarize yourself with makes, models and prices with garden maintenance shops also selling older mowers and strimmers. The down season is perfect to spend some months keeping an eye out online. The usual ‘buyer beware’ common sense rules apply here, so do your homework and try and have a conversation with the buyer. If they don’t know anything about it or how they have been maintaining it, it could well be stolen or not in very good condition. You have to be prepared to be a tyre kicker sometimes when handing over cash after inspection and the machine is not a good deal. I have only done it once and got a barrage of swearing as I walked all the way back to the car. But I have also paid cash for a 2nd hand Stihl strimmer in a dark car park ten years ago and it’s never let me down.


So do share any other favourite motorized aids for the flower grower, or if you’ve gone cordless instead!


Ashley


0