Tag Archives | cut flowers

It’s All in the Vase – homegrown & handmade

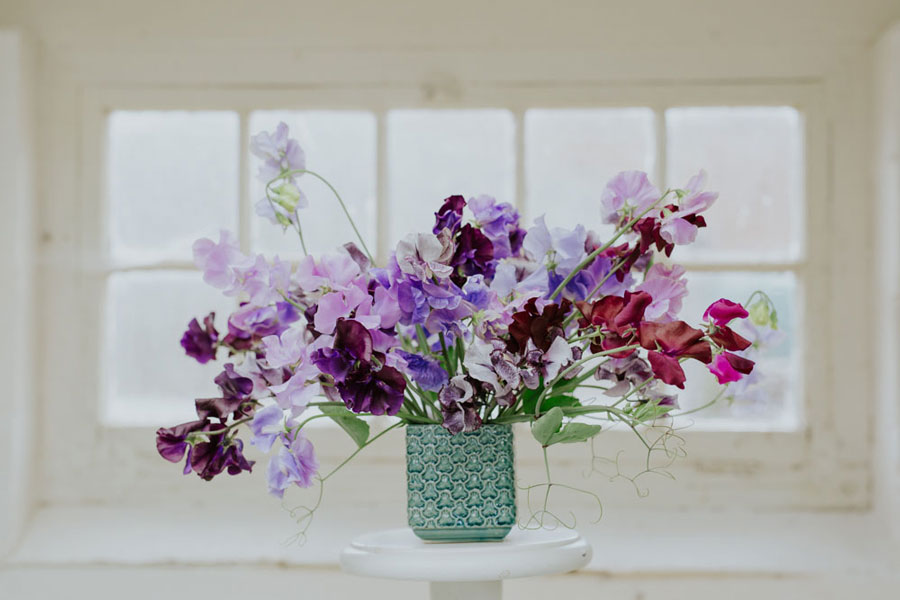
Here I am back in the blogging saddle, with my usual January good intentions. I thought I would focus on a recurring theme that shaped 2016 – the vase– and how it has motivated me to introduce a series of new floristry workshops for the season ahead.

This preoccupation with what to put my flowers in has been bubbling away for a few years now with my attempts to master the potter’s wheel and fulfil my dream of setting up a ceramic studio here at Green and Gorgeous, where I would throw tailor-made vessels to perfectly complement my garden-grown beauties.
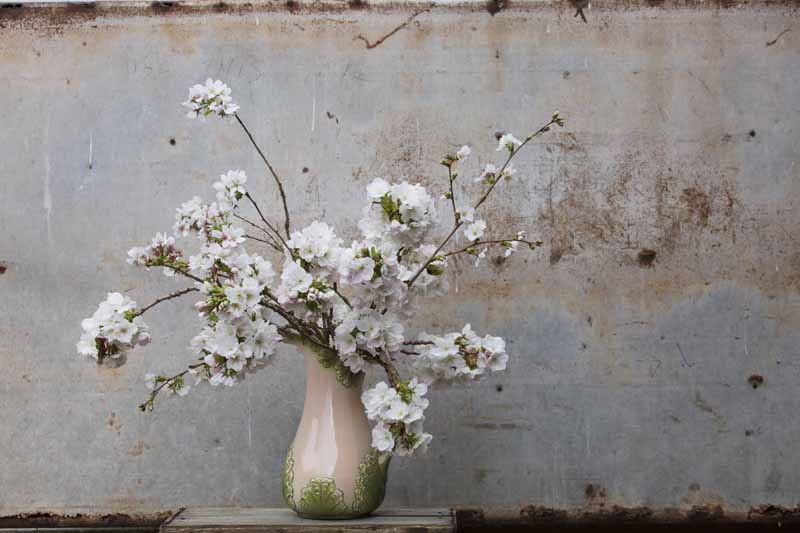
This longing was reinforced this year whilst working on a floristry book with Dorling and Kindersley in which I was commissioned to create a series of seasonal vase arrangements (more about that next month when the book comes out maybe…). As we progressed through the flowering months I struggled to find the right shape and finish of vessel to echo my seasonal selections. Instead of feeling compromised by what you can find, wouldn’t it be great if you could design and make that ‘enhancing’ vase, perfect in shape, colour and texture for your arrangement..?

I have always felt that the vessel, vase, container (whatever you choose to call it) is equally as important as the flowers. I guess I have become a little bored of vintage (apart from fan vases of course!), very very bored of jam jars and find the throwaway imports offered at the wholesalers rather depressing. Being a bit of a purist I wanted to explore the idea of everything about the floral design being not only homegrown but handmade….

My quest to throw that vase is ongoing – just before Christmas I spent three days on a residential pottery course at the wonderful West Dean College. For anyone who yearns for a bit of quiet, creative downtime in a gorgeous setting with great food I can highly recommend it. I was so excited by my progress that on my return I went and bought myself a pottery wheel. Now all I need to do is keep practising!
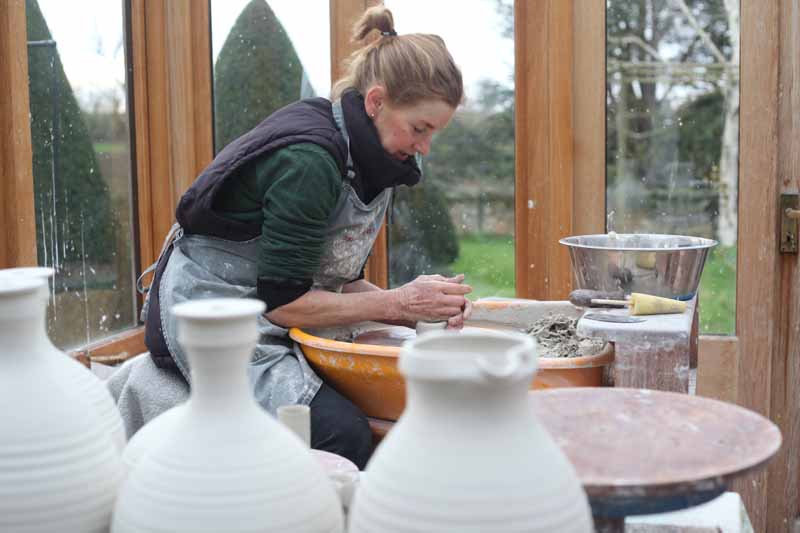
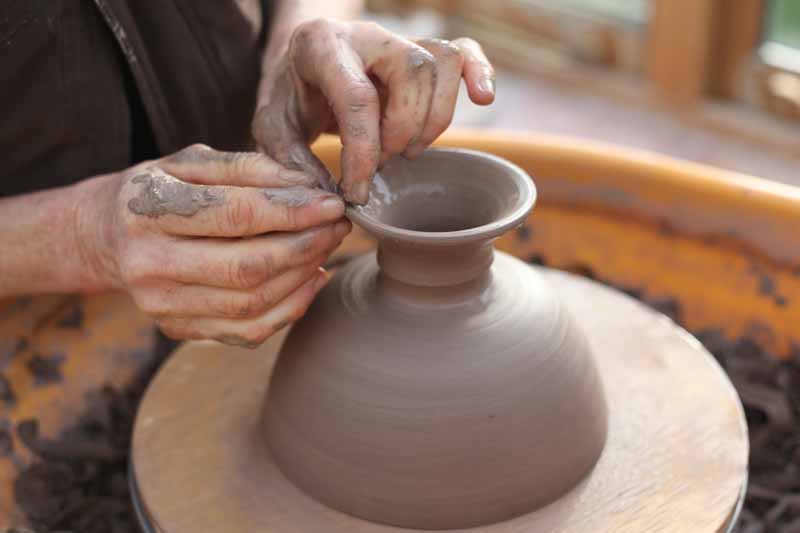
Anyway I am fortunate to also know a very talented potter nearby, Harriet Coleridge, so at the beginning of the year I asked her to make me some footed bowls to use as centrepieces for my wedding work. I recorded the process so you can see the skill and time it takes to make beautifully hand crafted pots. I have collaborated with Harriet for some years now for Artweeks and always enjoy the unique blend of my flowers and her pots.
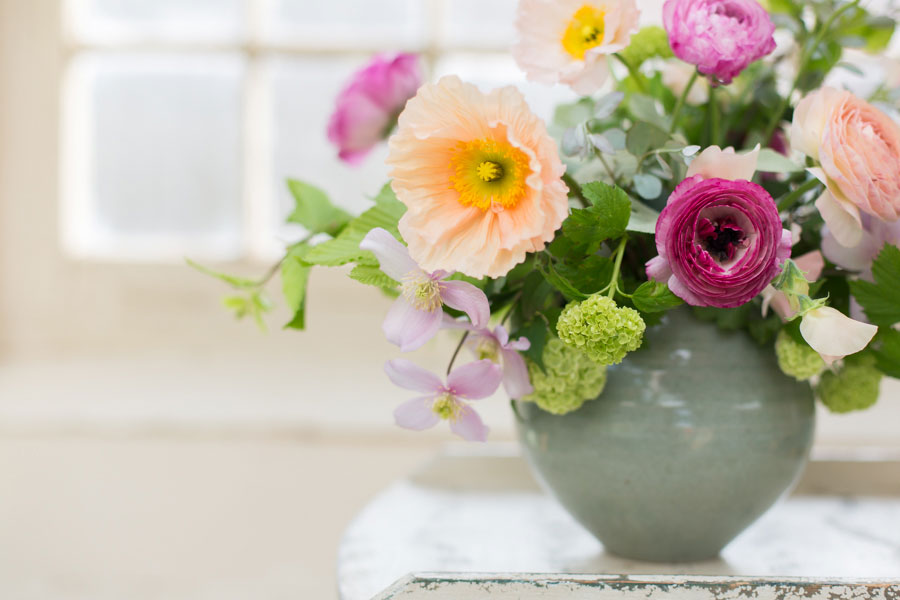
We decided to go for a stoneware clay which can take a bit of wedding wear with a tin glaze, which is white, shiny and opaque, a good neutral for the florals.
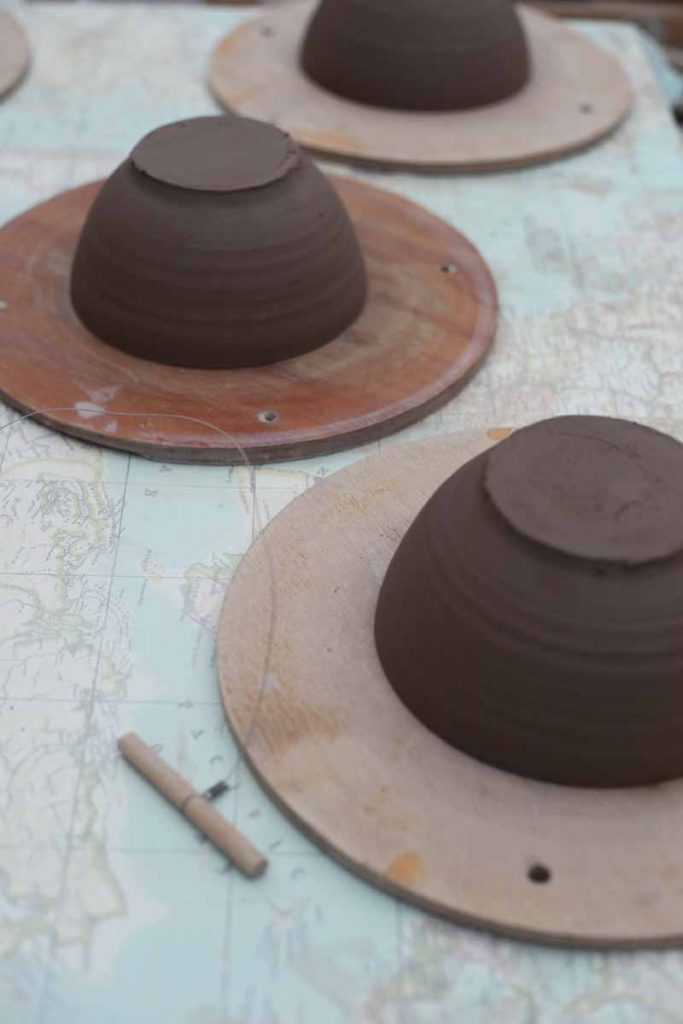
The first step was to throw a bowl the correct shape and size ten times.
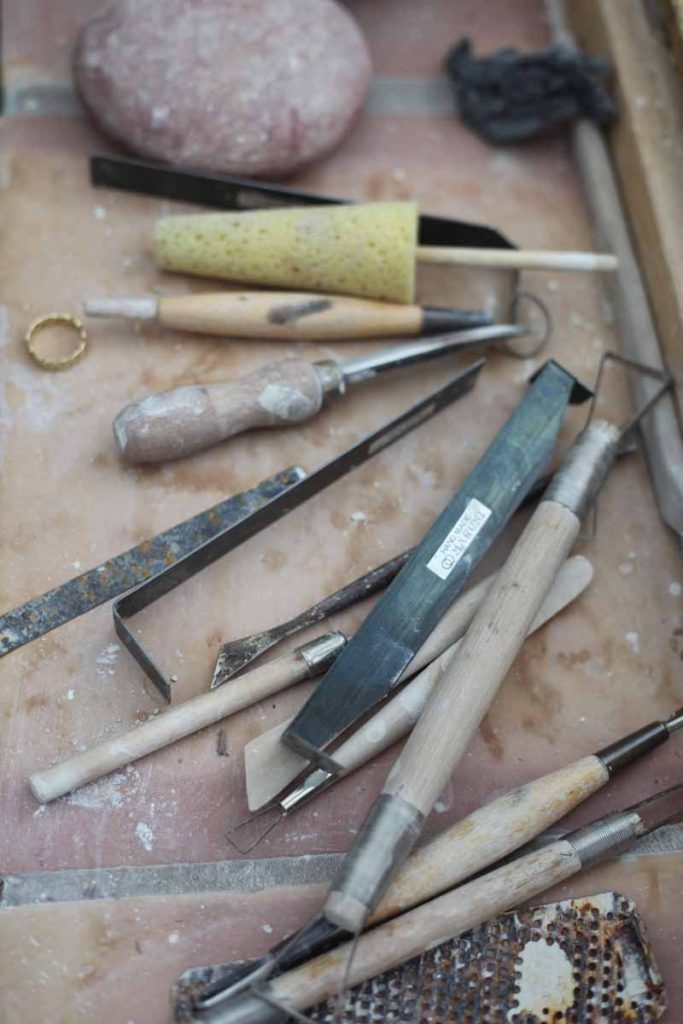
Some tools of the trade.
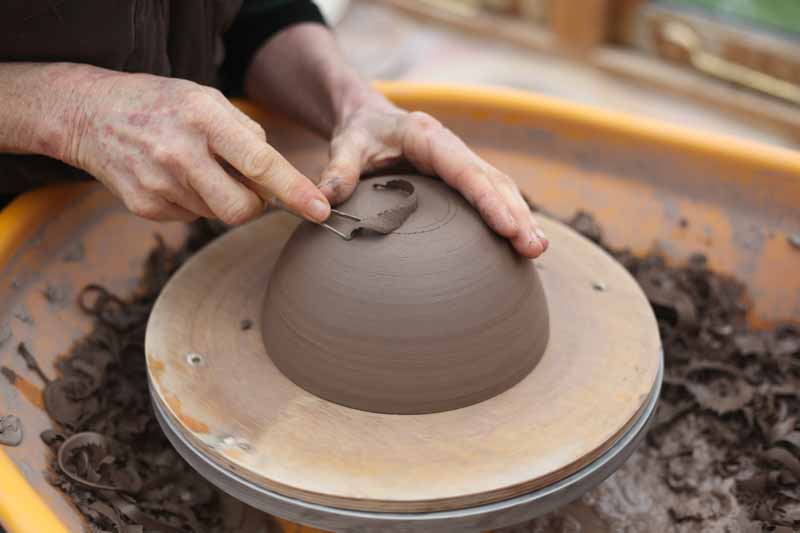
Once these were dried to the leather-hard stage they were ready to be trimmed to get a smooth curved shape ready for the foot to be attached. A bit of cross hatching marks the spot.
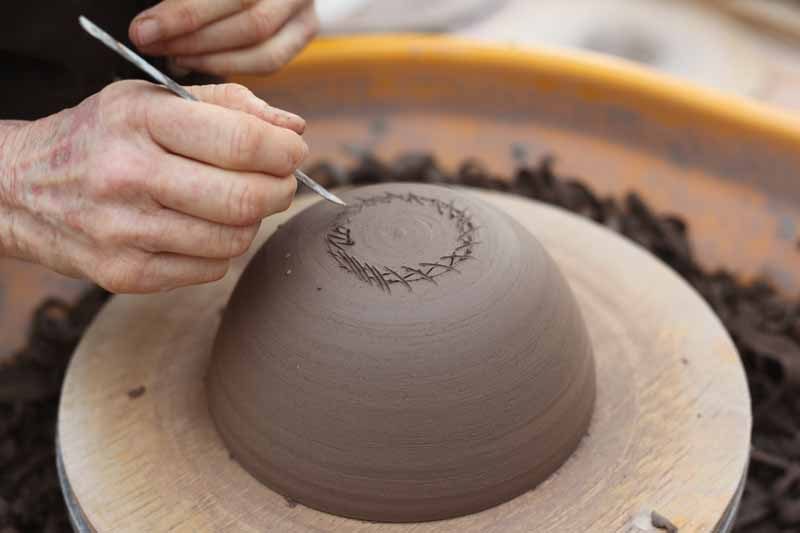
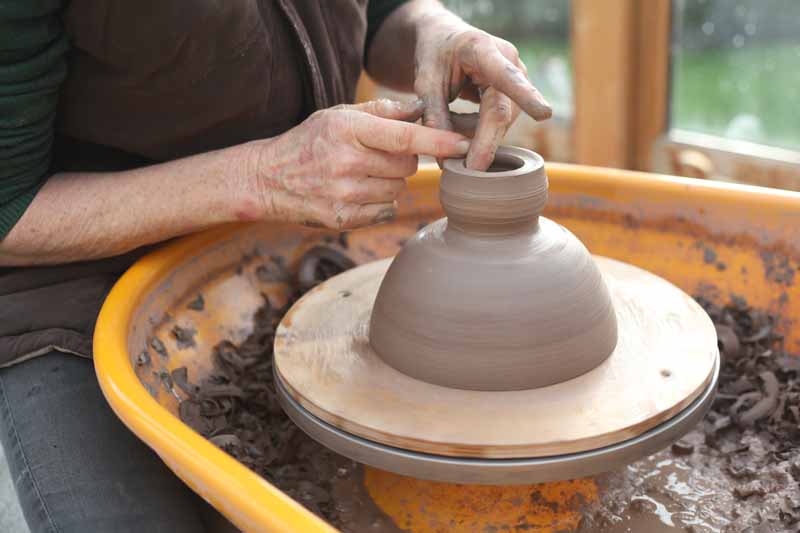
The foot is made separately by throwing a short cylinder of clay.
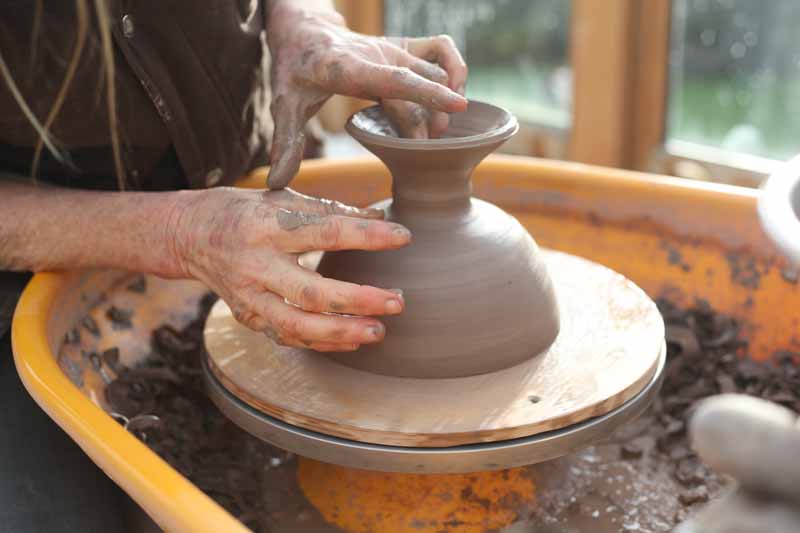
Once attached it is shaped on the bowl. Harriet makes this look easy but I can assure you it takes years of throwing to be so adept at it.
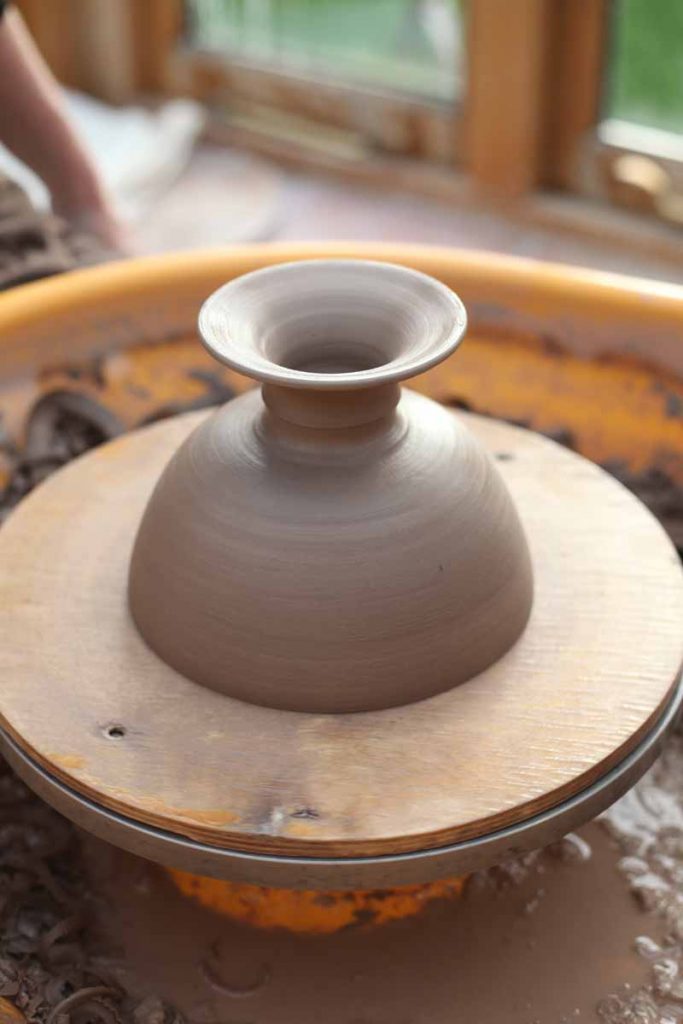
After a bisque firing the bowls are ready to be glazed. This requires a large bucket of well stirred glaze and a pair of tongs.

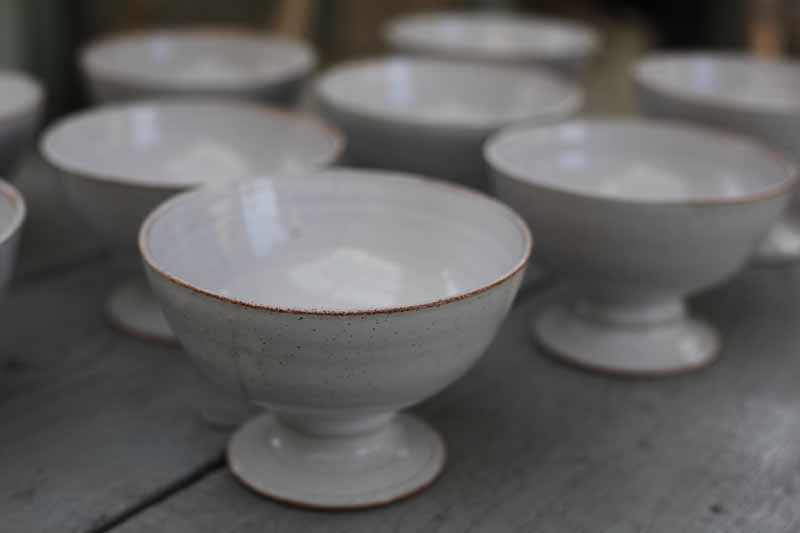
The finished bowls after their glaze firing, already booked for a number of weddings next year.
The next project for me and Harriet to work on will be to create a vessel for my first ‘All in the Vase’ workshop in the spring. I am imagining a wide, shallow shape to accommodate the fleshy stems of tulips, anemones and Ranunculus perhaps curving in slightly at the top to make arranging a little easier.
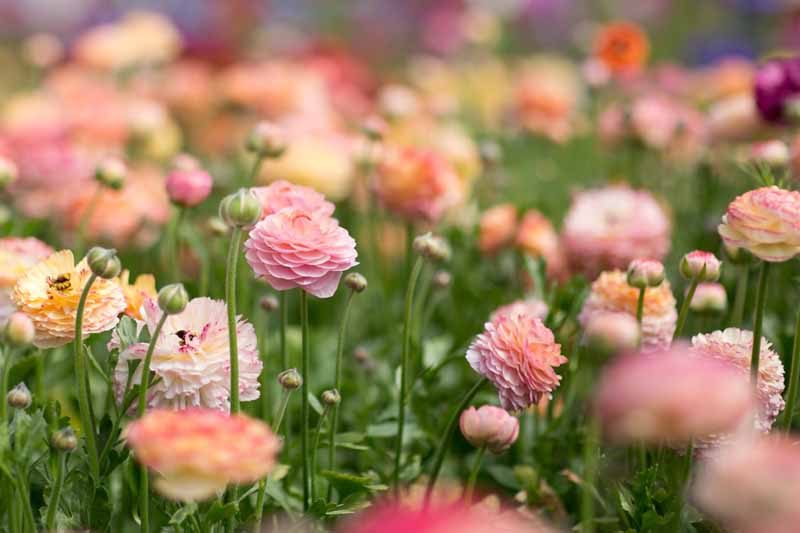
I have just put up dates for Summer and Autumn ‘All in the Vase’ classes, each will be quite distinct in the selection of florals and the vessels I source and create for them, if you would like to add to your vase collection and learn how to get the best out of them come and join us.

A Year in Pictures

January

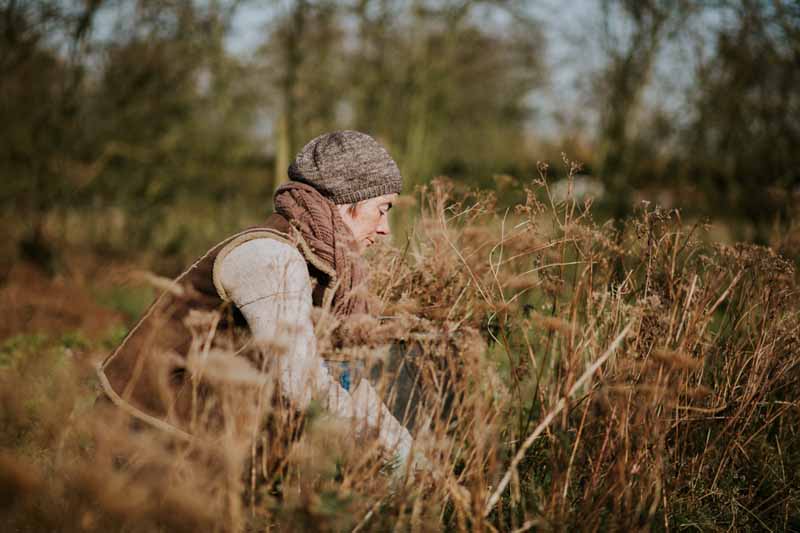
Cutting back perennials and making pots (by Harriet Coleridge).


February

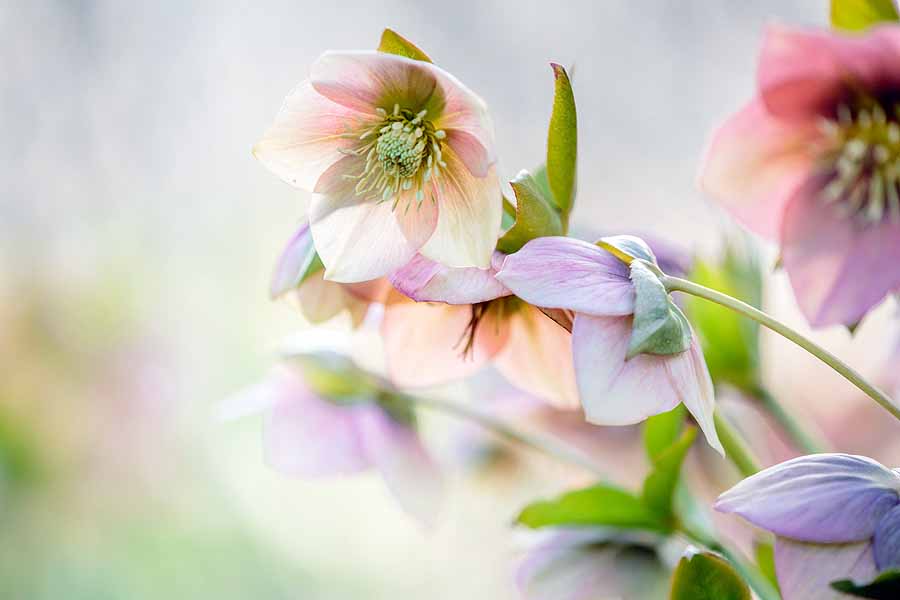
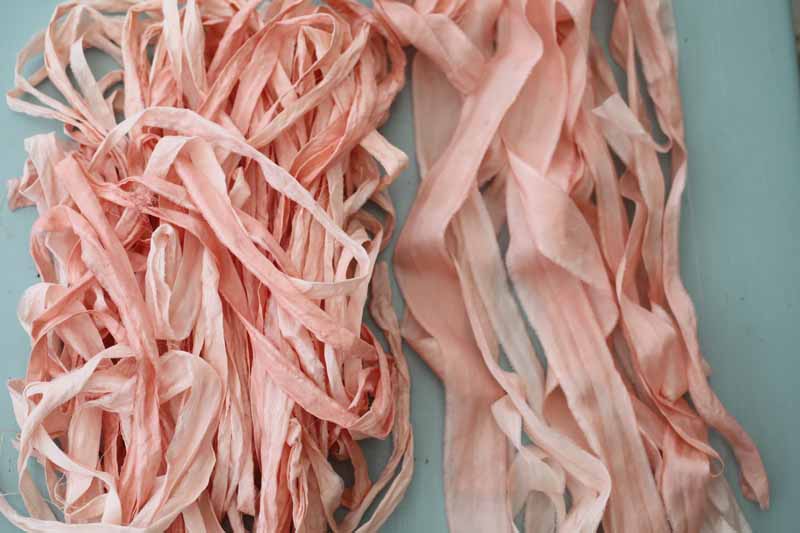
Hellebore appreciation and plant dyeing silk to make into ribbon.


March


Seed sowing, picking the first Anemones and the first wedding of the year.


April

Ranunculus time and a collaboration with Jo Flowers for a Spring Florals workshop.


May

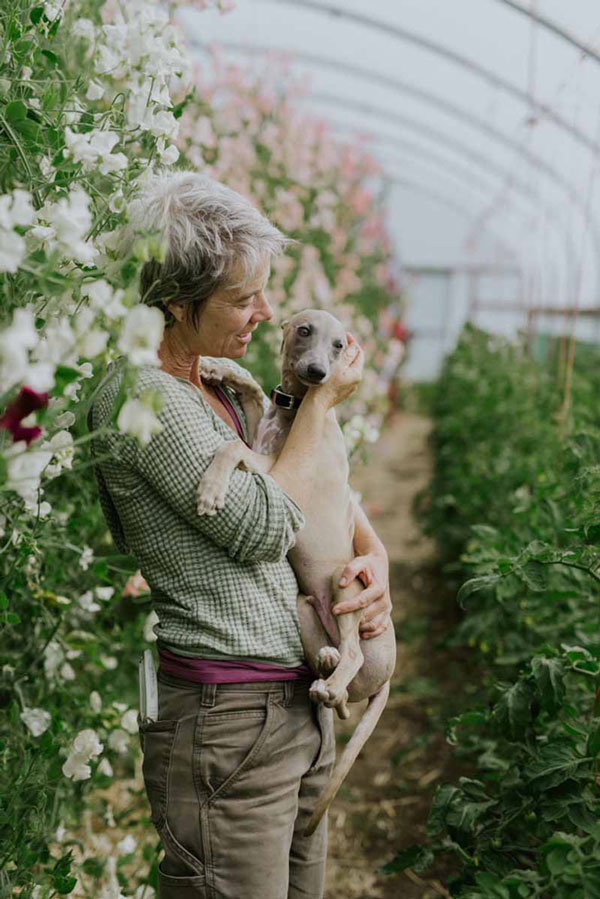
May in a bouquet and the latest addition, Jesse the Whippet.


June

Our second Wedding Flowers Intensive workshop with The Garden Gate Flower Company and the Roses are abundant.


July

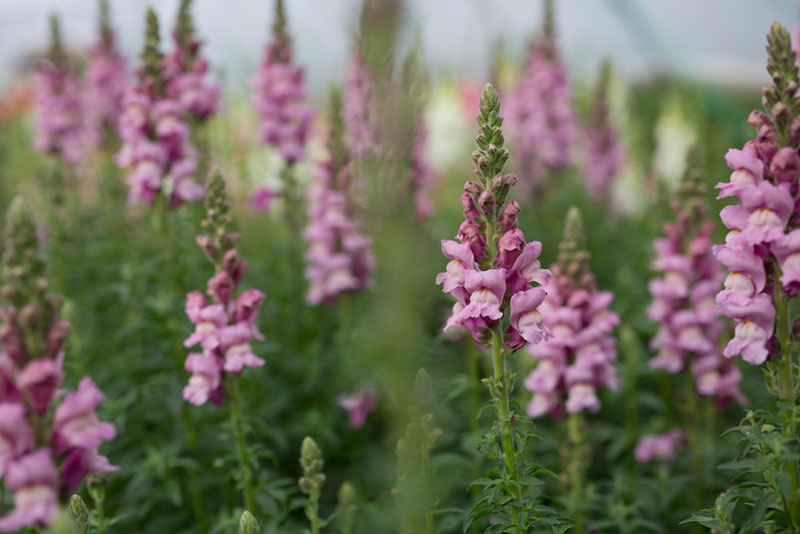
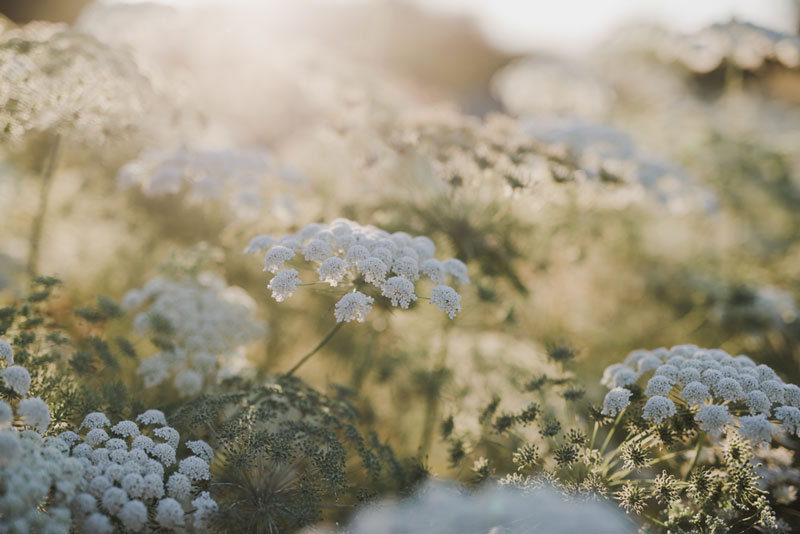
Sweet Peas picked on the vine now, Snapdragons start to flower in the tunnels and Ammi begins to set seed.


August

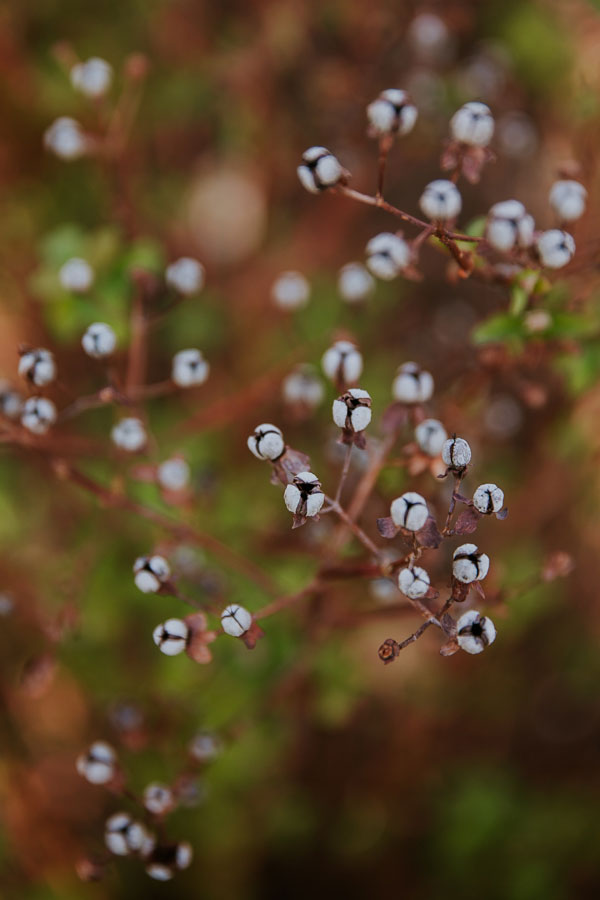
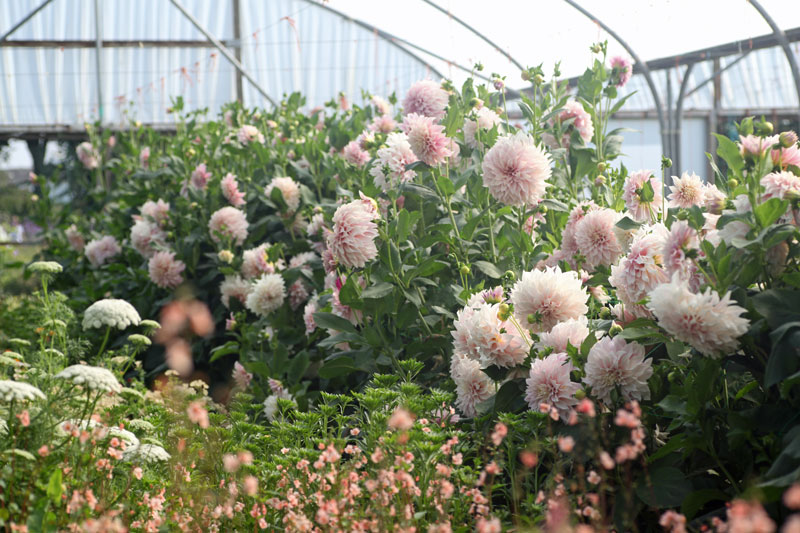
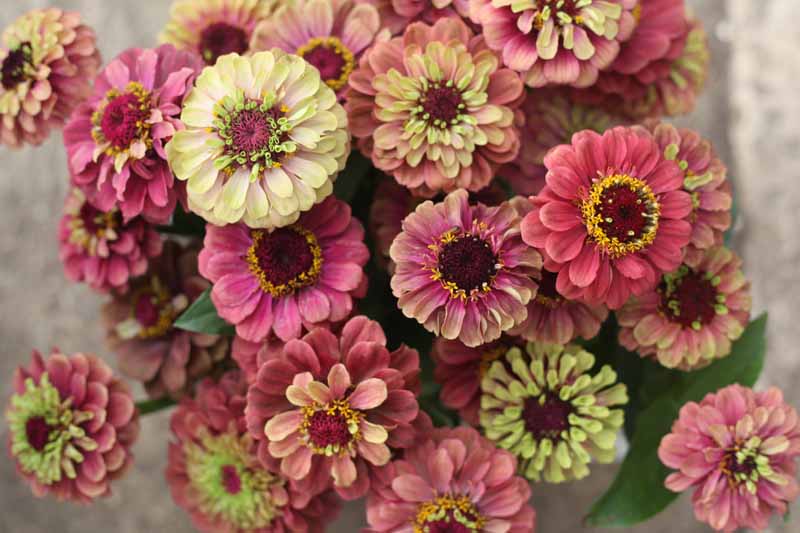
Zinnias and Dahlia ‘Cafe au lait’,  enjoy the heat and the berries begin!


September


Dahlia time and so much to go with them.


October

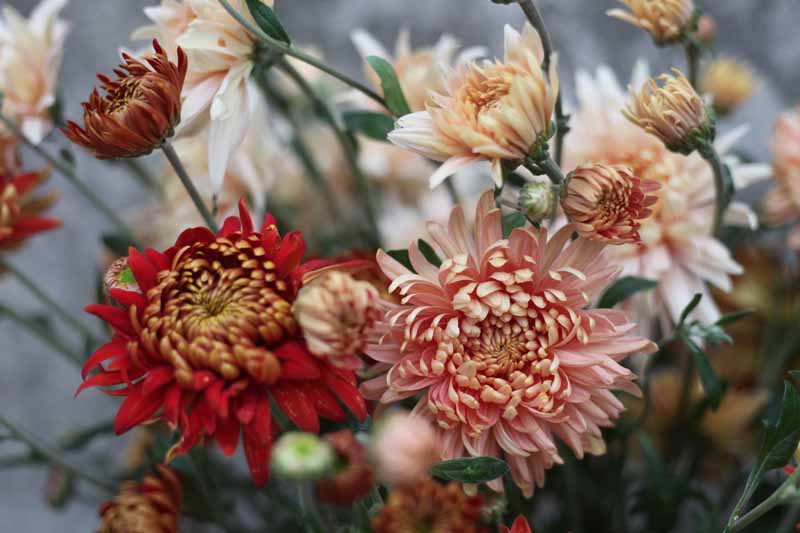
Chrysanthemums for the first time and I am converted.


November

The first frosts and it is time to lift the dahlias.
 

December

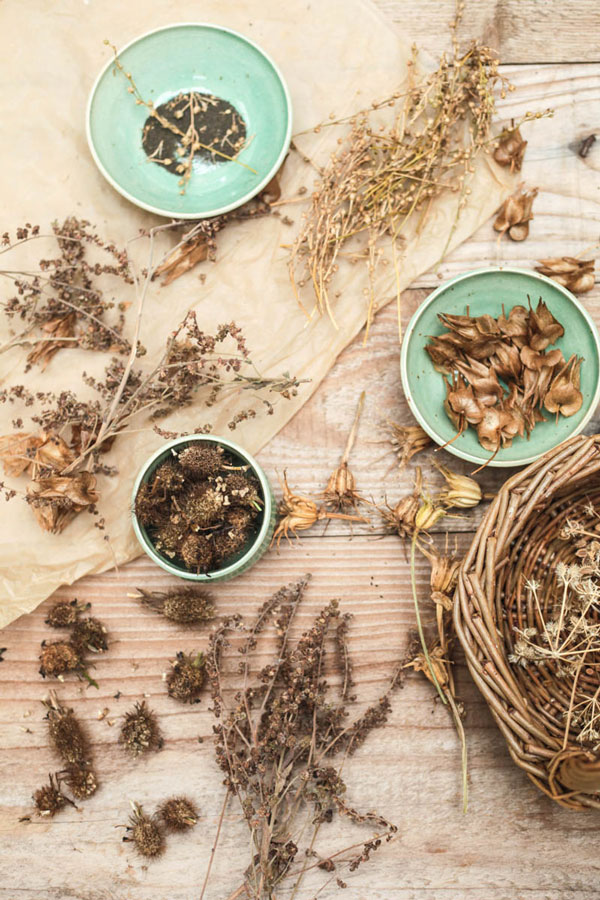
Keeping warm saving and storing seeds for 2017.
 

With thanks to photographic contributors Eva Nemeth, Clare West and Imogen Xiana.

Love Rachel and Ashley – Wishing you all the best for a happy and peaceful New Year. 


The Cultivated Palette Series – Tulips

CW__7564

I have decided to make this post short and sweet because that is how my tulips are this year! Our record breaking mild winter did not give the bulbs the cooling period they need for good stem length. Ideally they require a good 12-14 weeks ‘cold period’ to produce quality cutting stems. I think I will try to order the bulbs as early as possible this year and store them in our chiller to pre-cool them before planting in November, if and only if it is cold enough.

Anyway, looking back at taller years, here are some of the varieties and cultivation methods I use for luscious blooms to grace my March and April floral work.

CW__7548

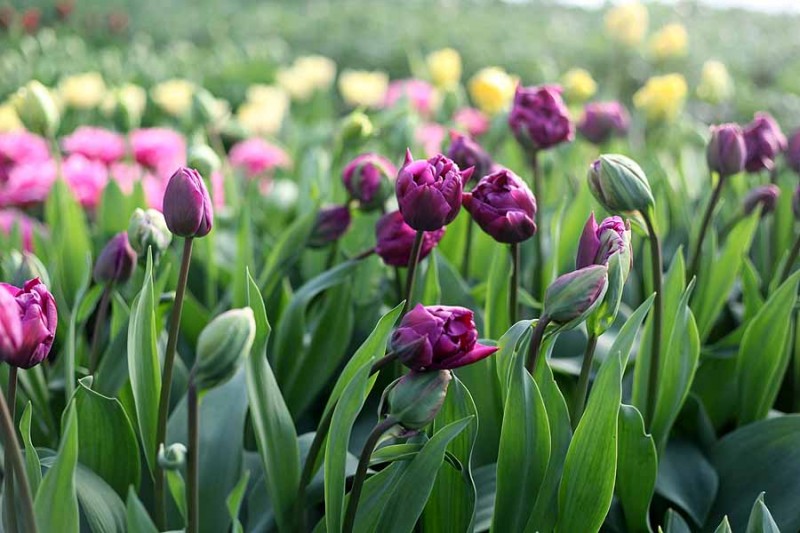
I opt to grow the majority of my tulips under cover which normally results in better stem length as they get slightly drawn and unblemished perfect petals. Planting them closely together also helps, no more than 10 cm apart. The only downside to this being if we get a warm spell in April (which any normal person would be very happy about) as it tends to make them all come at once, early, middle and late cultivars.

IMG_9914

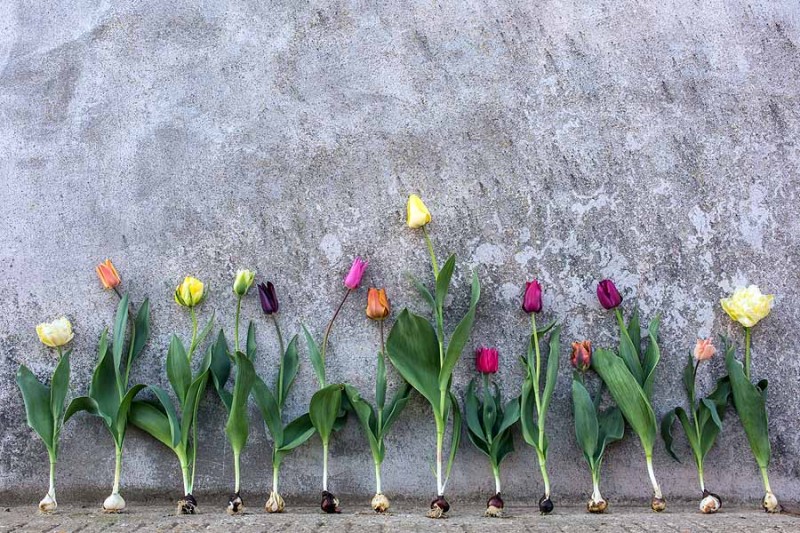
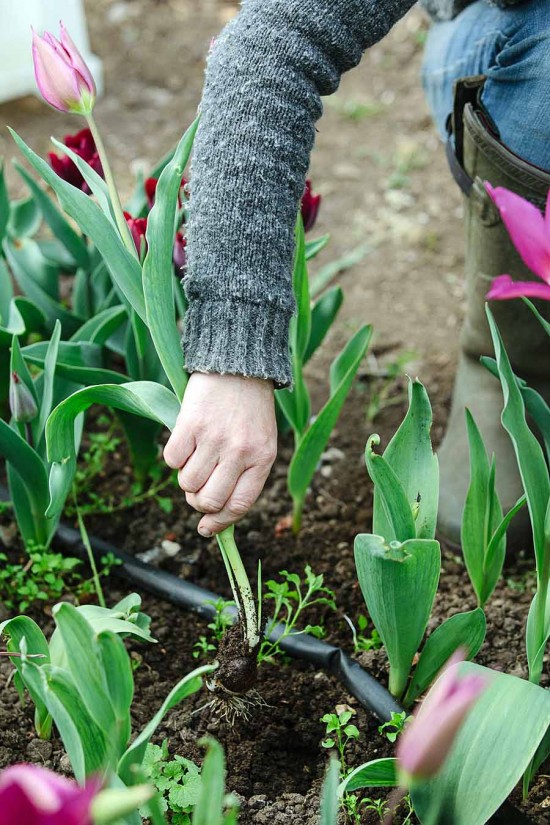
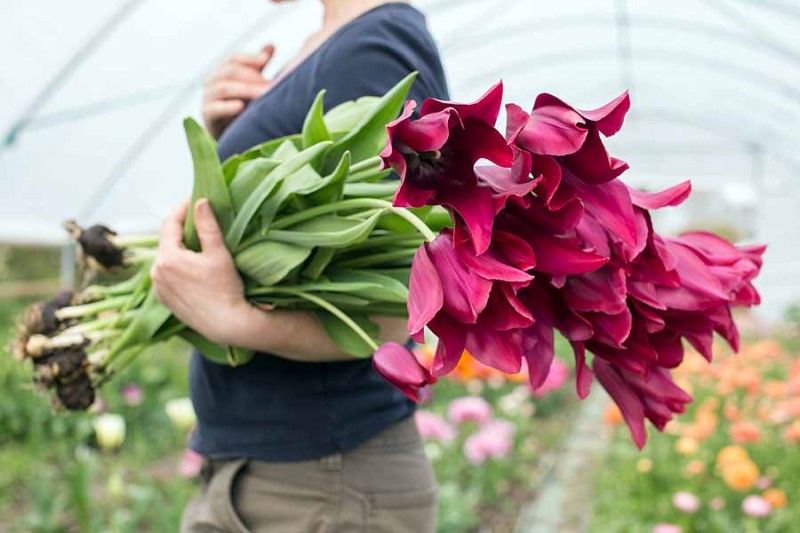
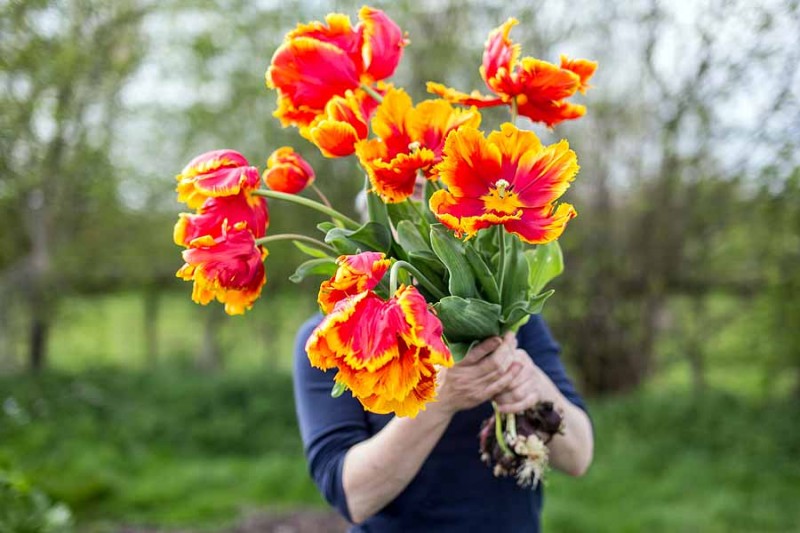
I often get gasps of horror when people watch me harvesting tulips as I just pull them out, bulb and all.

Green & Gorgeous - March - 060

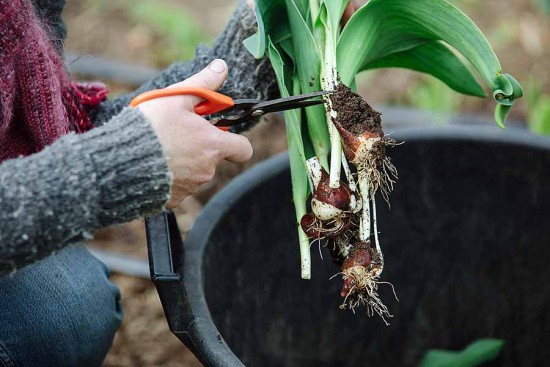
The bulb is then cut off and composted and so it becomes an annual (albeit expensive) crop.

Green & Gorgeous - March - 061

There are many advantages to growing them this way; even more stem length as you get the extra bit under the ground, bulbs are dibbed in shallowly so no trenches or backbreaking work, the ground is cleared and ready for the next annual crop and it means you get to try new varieties every year!

CW__9197 (2)

Talking of varieties I am a sucker for anything with ‘new’ written next to it but I do have some reliable favourites that I grow year on year. My favourite groups are peony/double and viridiflora types.

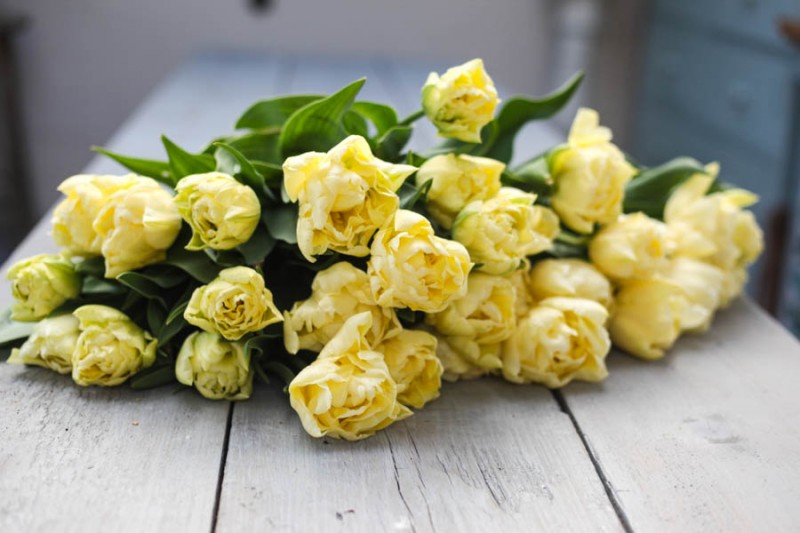
I always start the season with lots of ‘Verona’ a pale yellow peony tulip with decent stem length for an early double type and such a long vase life.

IMG_4070

These are closely followed by ‘Blue Diamond’ an unusual antique, puce colour and two classics ‘Angelique’ and ‘Mont Tacoma’.

Green & Gorgeous - March - 140

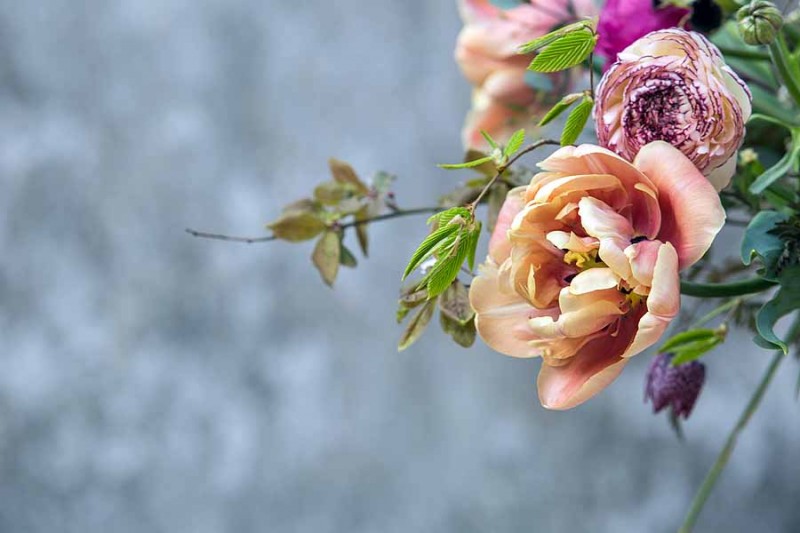
The recently introduced ‘La Belle Epoque’ rounds off the season with a mouthwatering colour combination of coffee and peachy pink.

CW__7580 (1)

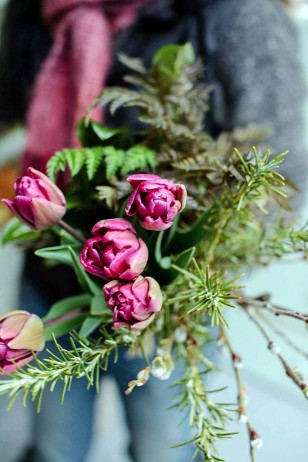
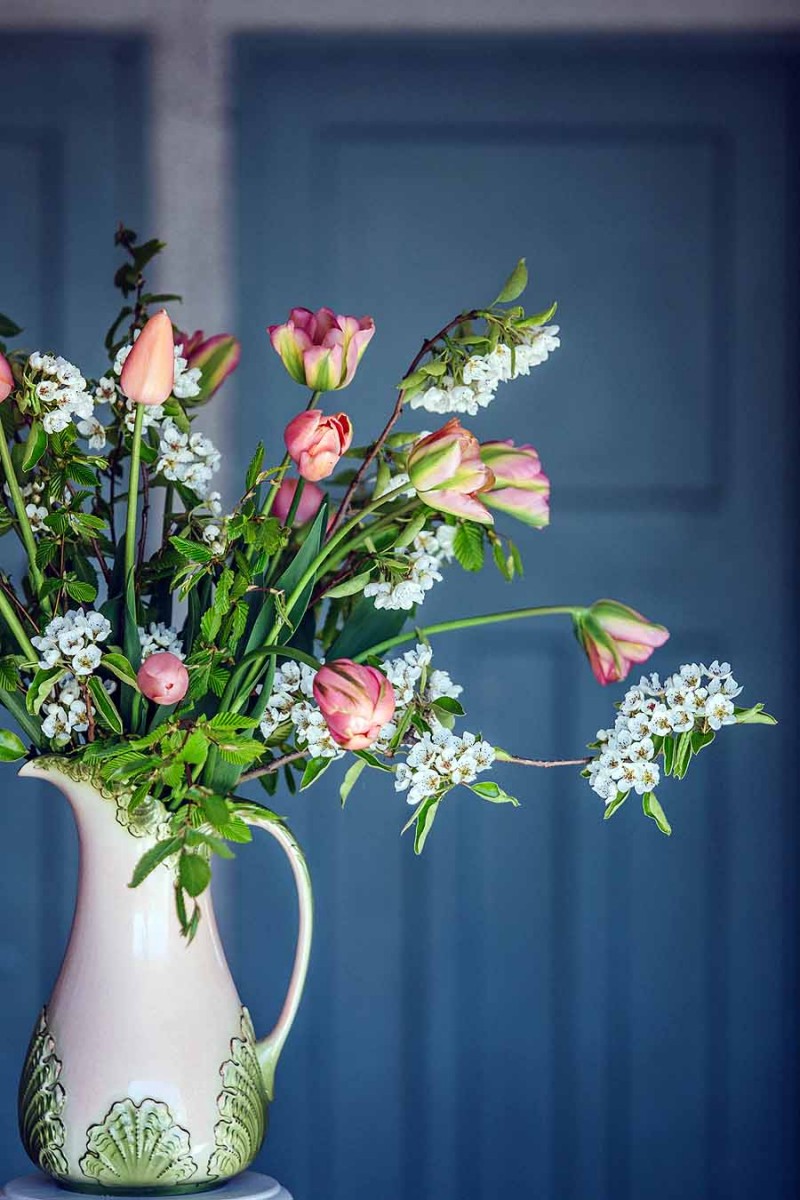
The viridiflora types are characterized by a green stripe on the the petals. My favourite is ‘Spring Green’ because they go with anything and are effortlessly stylish. This pink variety ‘Greenland’ has been paired with a coral single late variety called ‘Menton’ and pear blossom.

Green & Gorgeous - April - 086

For stem length, Lily-flowered varieties are worth trying. Their pointed petal tips and hourglass shape bring a contrasting elegance to the fuller peony and parrot types. They tend to flower a bit later as well giving some succession to the tulip harvest.

CW__9189

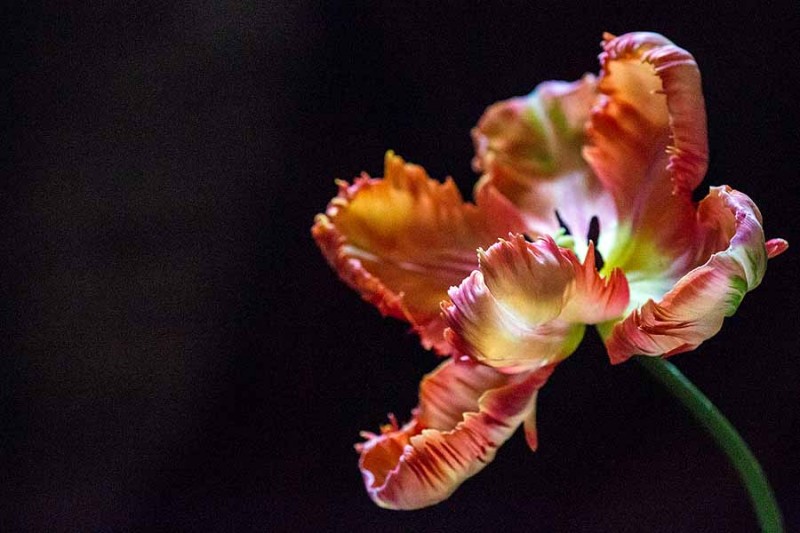
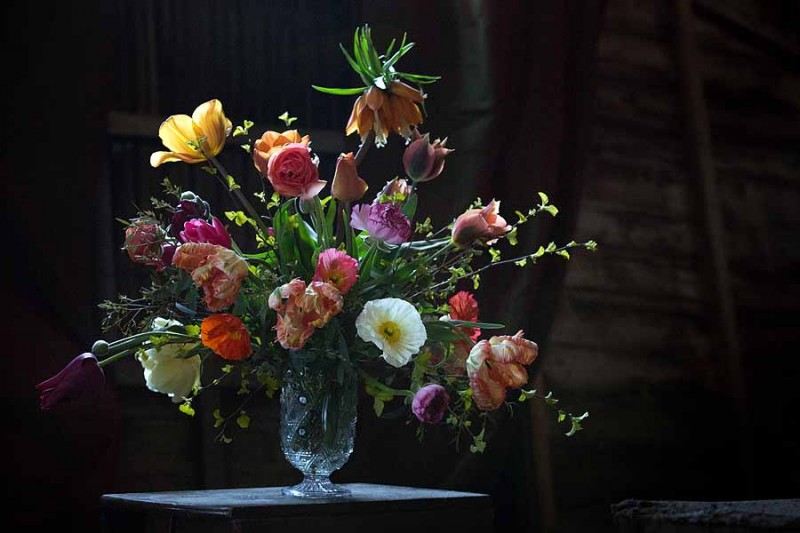
Floppy Parrot tulips are definitely happier in my tunnels where they are sheltered from heavy Spring showers. Black Parrot is great for a sophisticated look and Flaming Parrot or Apricot for some Dutch Master decadence.

CW__7705

To source your tulips and see a whole host of other varieties I would recommend looking at Peter Nyssen or Gee Tee.

They both supply good quality and reasonably priced bulbs, which is important if you are going to use them as an annual in your cutting beds.

CW__7637 (1)

When conditioning tulips I just put a couple of inches of water in the bucket, I find if they are immersed in deep water it ruins the leaves.

Photographs (mostly) by Clare West.


Next up will be my favourite Spring flower – Ranunculus.